Review: Godox iA32 with Leica Q
Today we are going to be reviewing the Godox iA32 on a Leica Q body. Last post, I gave a high level description of my initial thoughts of the flash and now I'm going to go into more detail about different modes and what works best with the Leica.
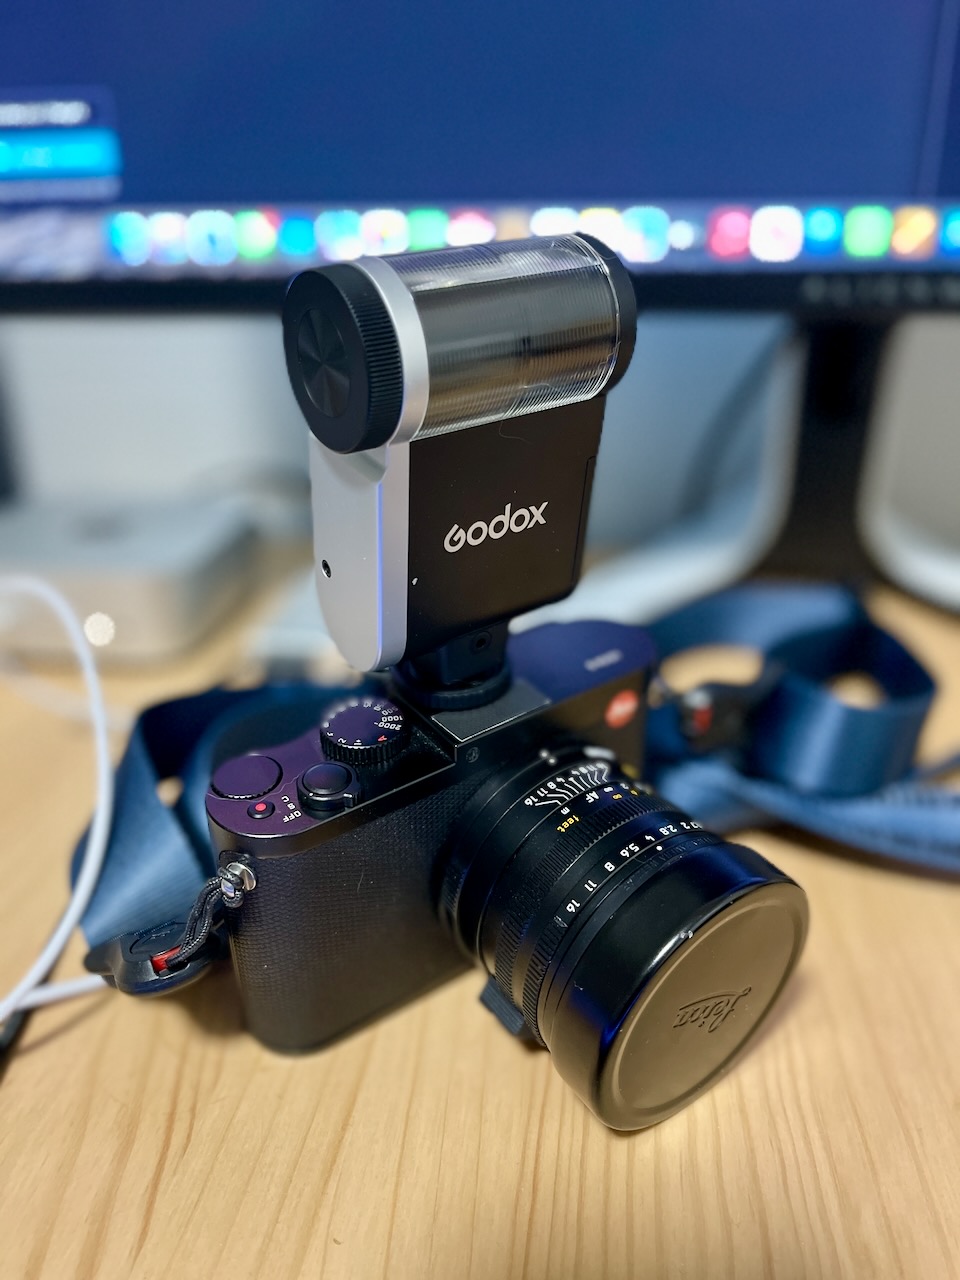
Build Quality
The flash itself is of decent quality made of entirely plastic with rounded edges where appropriate and has a good aesthetic that fits with the Leica Q. You can tell they had the Q in mind when designing the flash in my opinion, plus it shows throughout their marketing materials. While the flash feels of good quality, I can't imagine you would want to rough it up too much as it would scratch pretty easily. In addition to this, the battery cover door is pretty difficult to open and doesn't really click into place. While it does close in place easily enough, it does seem like one part of the flash that could be prone to breaking in the future. It has a hinge design that swings outward when you are replacing the batteries. I wish it was a little bit easier to slide open - my unit in particular feels like a lot of pressure needs to be applied to slide the door open.
Features
The flash housing unit can be rotated using the black dial on the side to move it 90 degrees straight up with 15 degree clicks to 0 to -7 for close up photography. It has an auto mode, manual mode and S1/S2 optical modes. There is a small LCD screen that largely functions in the auto mode as your aperture and ISO selection, which shows you the approximate distance to shoot at. In addition, in manual mode, you can select your power output, which ranges from 1/128 to full power.
It takes two AA batteries with the recommendation being that you use NiMH high capacity batteries to reach the rated 490 shots. In my quick experimentation with regular AAs vs Eneloop Pros, I can definitely vouch for the rated shots. You will be going through a lot of batteries if you try to use regular alkaline batteries. One thing to note is that the low battery indicator is simply the power button flashing red. Unfortunately, there is no way to track the battery capacity on the included LCD screen. You will definitely want to carry some back ups with you in case you need to swap mid shoot. Here is a quick product video from Godox.
Modes
Auto
This flash does not offer TTL, but it does have an auto mode, which functions like other flashes where you set the aperture and ISO that you will set on the camera and detects the amount of light in the scene to give the correct exposure, otherwise known as auto-thyristor mode. This mode should work across all types of cameras. You can then use exposure and shutter speed to control the light on your subject and background: how much your subject pops/separates from the background. I will show some examples of that later.
Manual
There are technically three options for manual, the base mode, S1 and S2 optical modes for use with other lights. I imagine most people will use the flash in the regular manual mode, which functions well enough. For people starting out with flash photography, I would recommend the auto mode until one understands how aperture, shutter speed, exposure and ISO work together. To really get the most out of the flash, you will want to be shooting in manual on your camera and using the auto mode on this flash works well enough to begin with. I for one am new to flash photography and found it easier to use off the bat since there were less variables to consider and think about. You could focus more on what you were shooting. I'm sure as I become more comfortable with things, this opinion will likely change. Regardless, the flash allows you to adjust in increments within the steps 1/128, 1/128 0.3, 1/128 0.7, and so on.
Examples
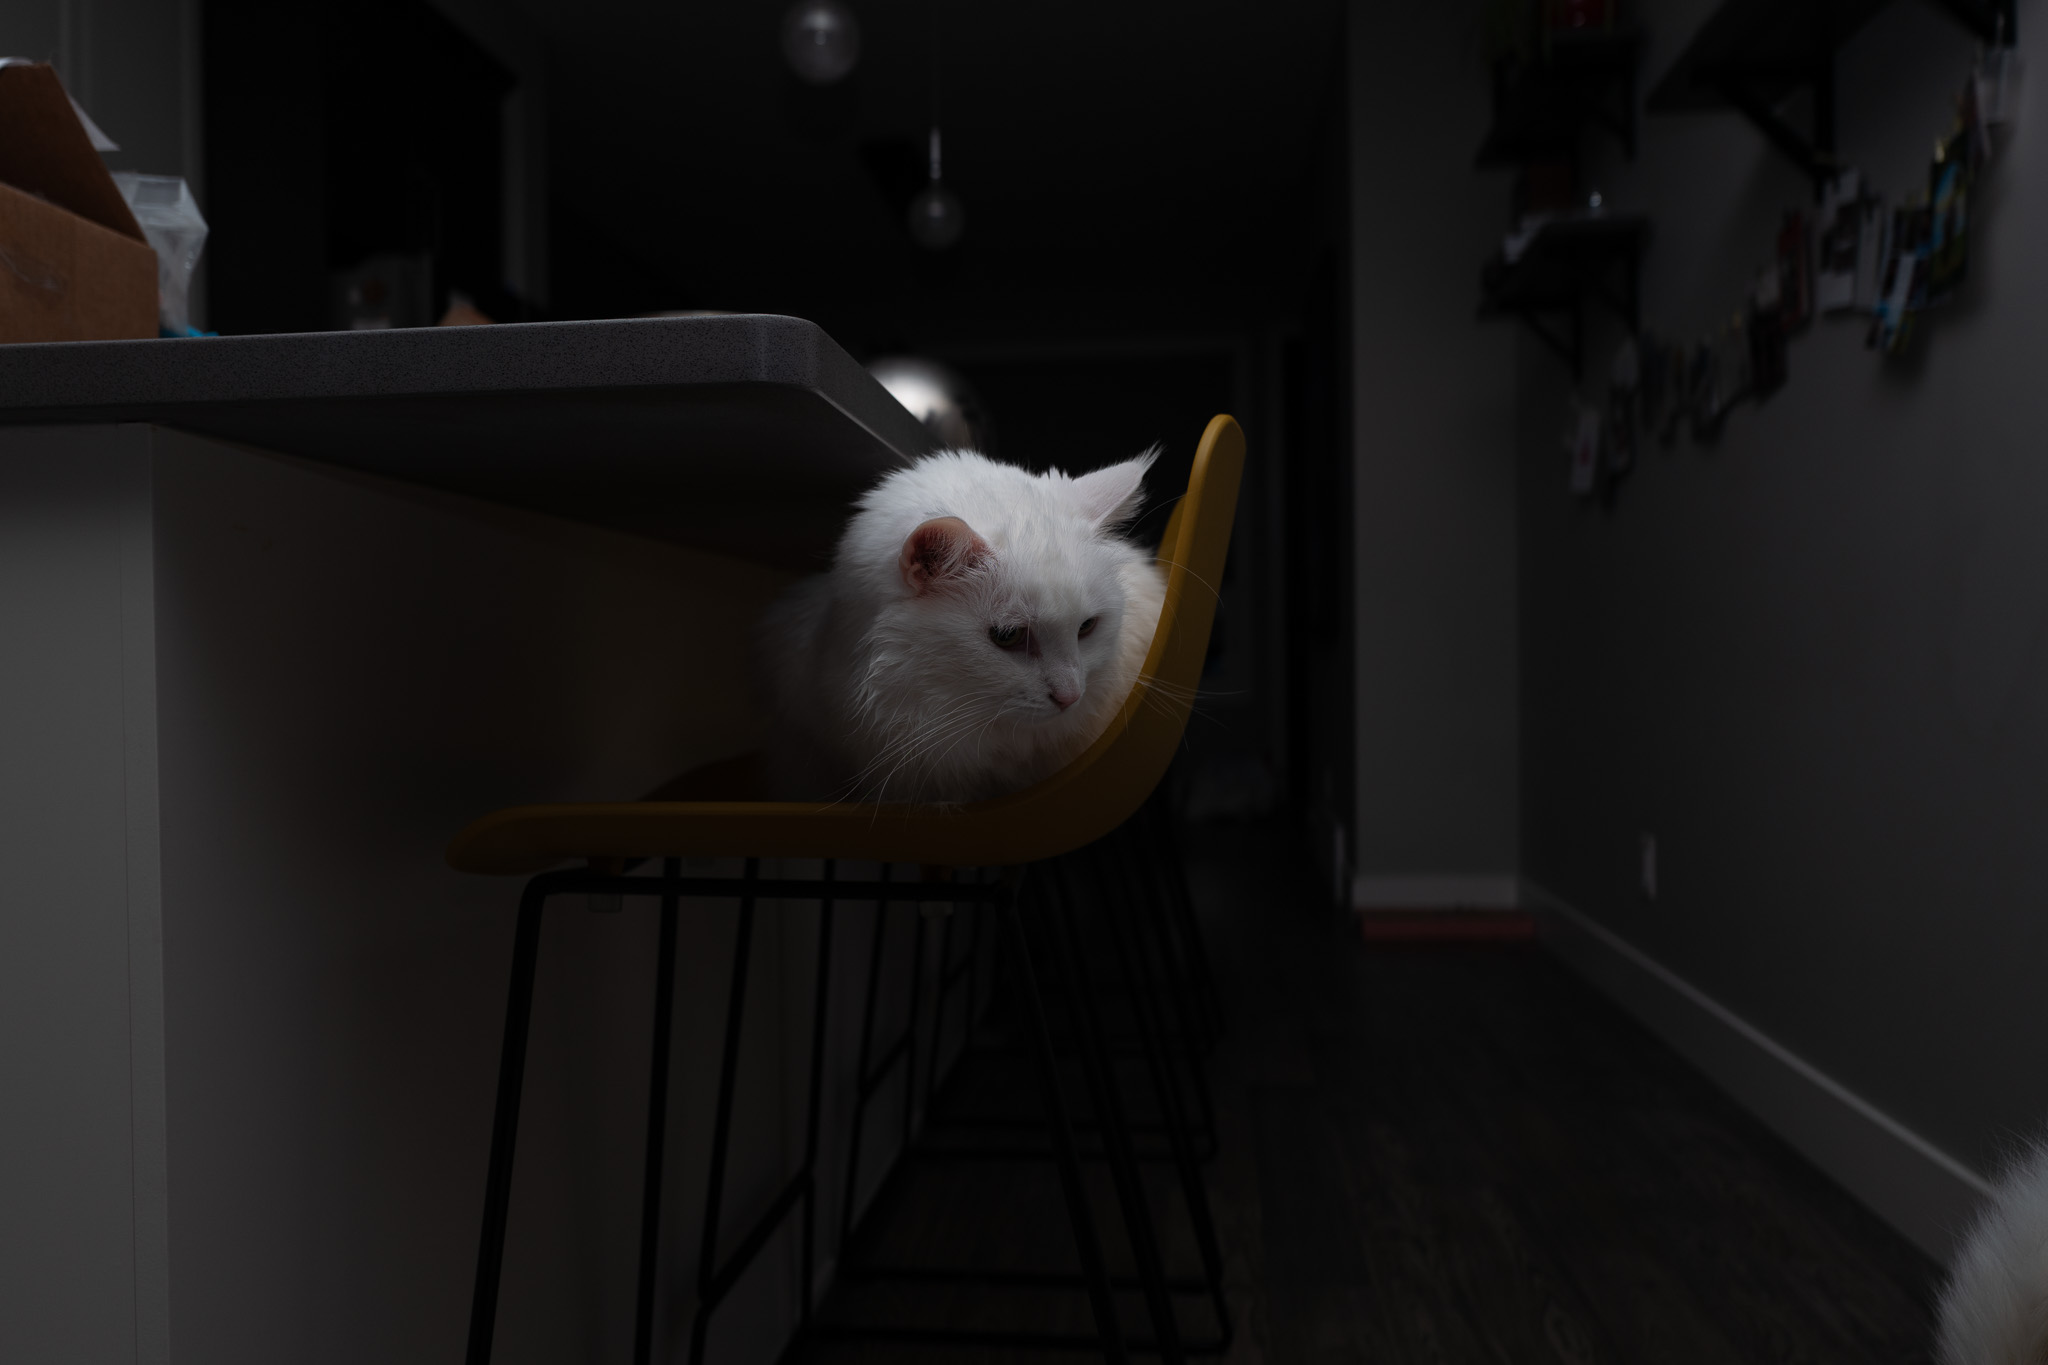
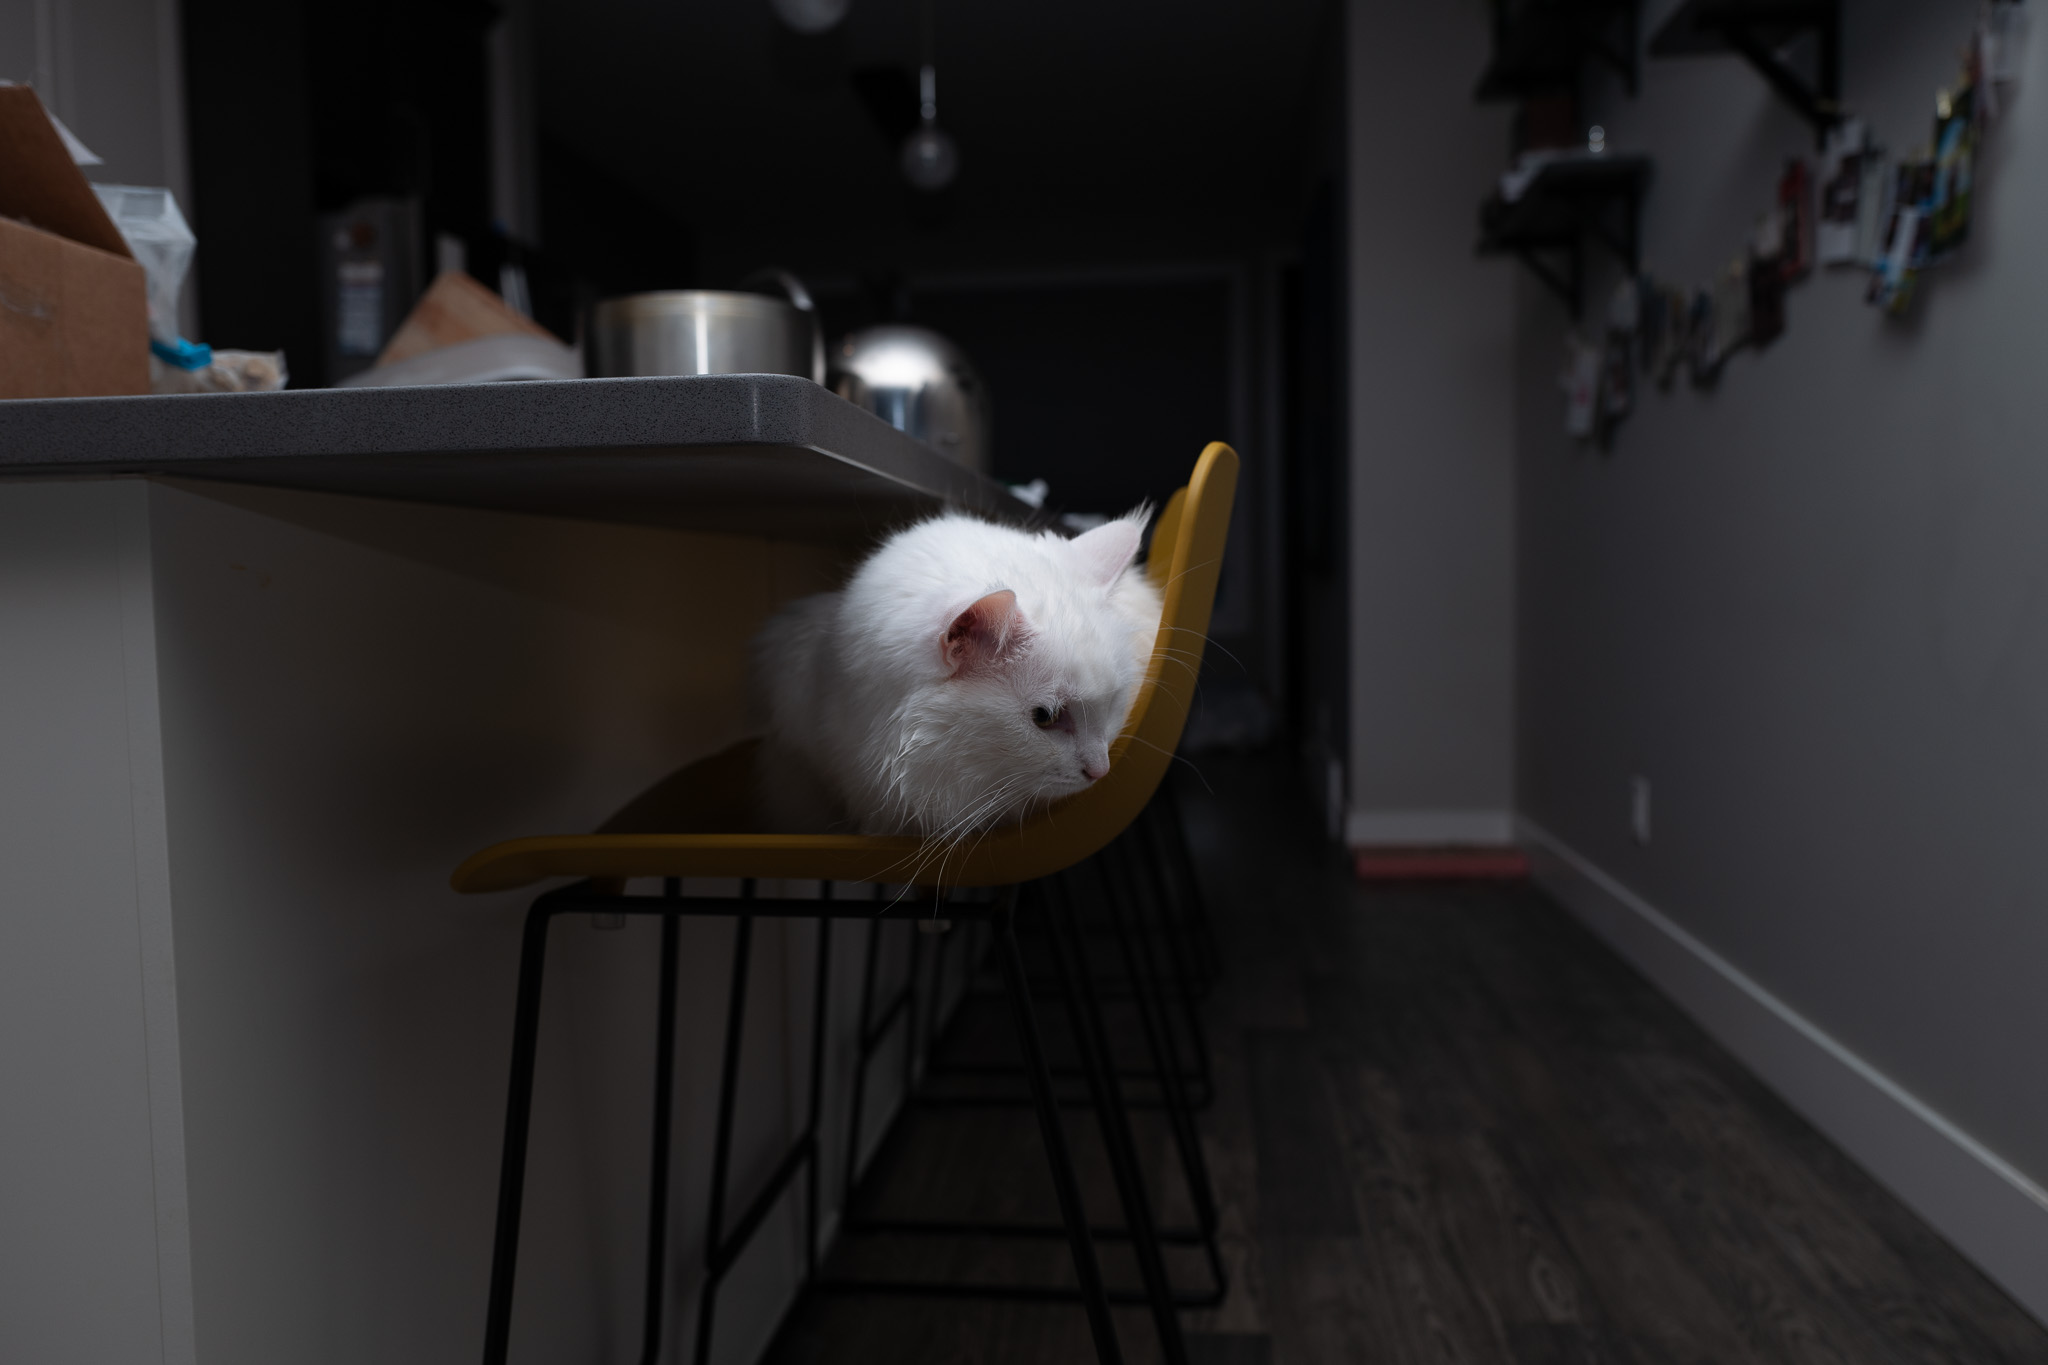
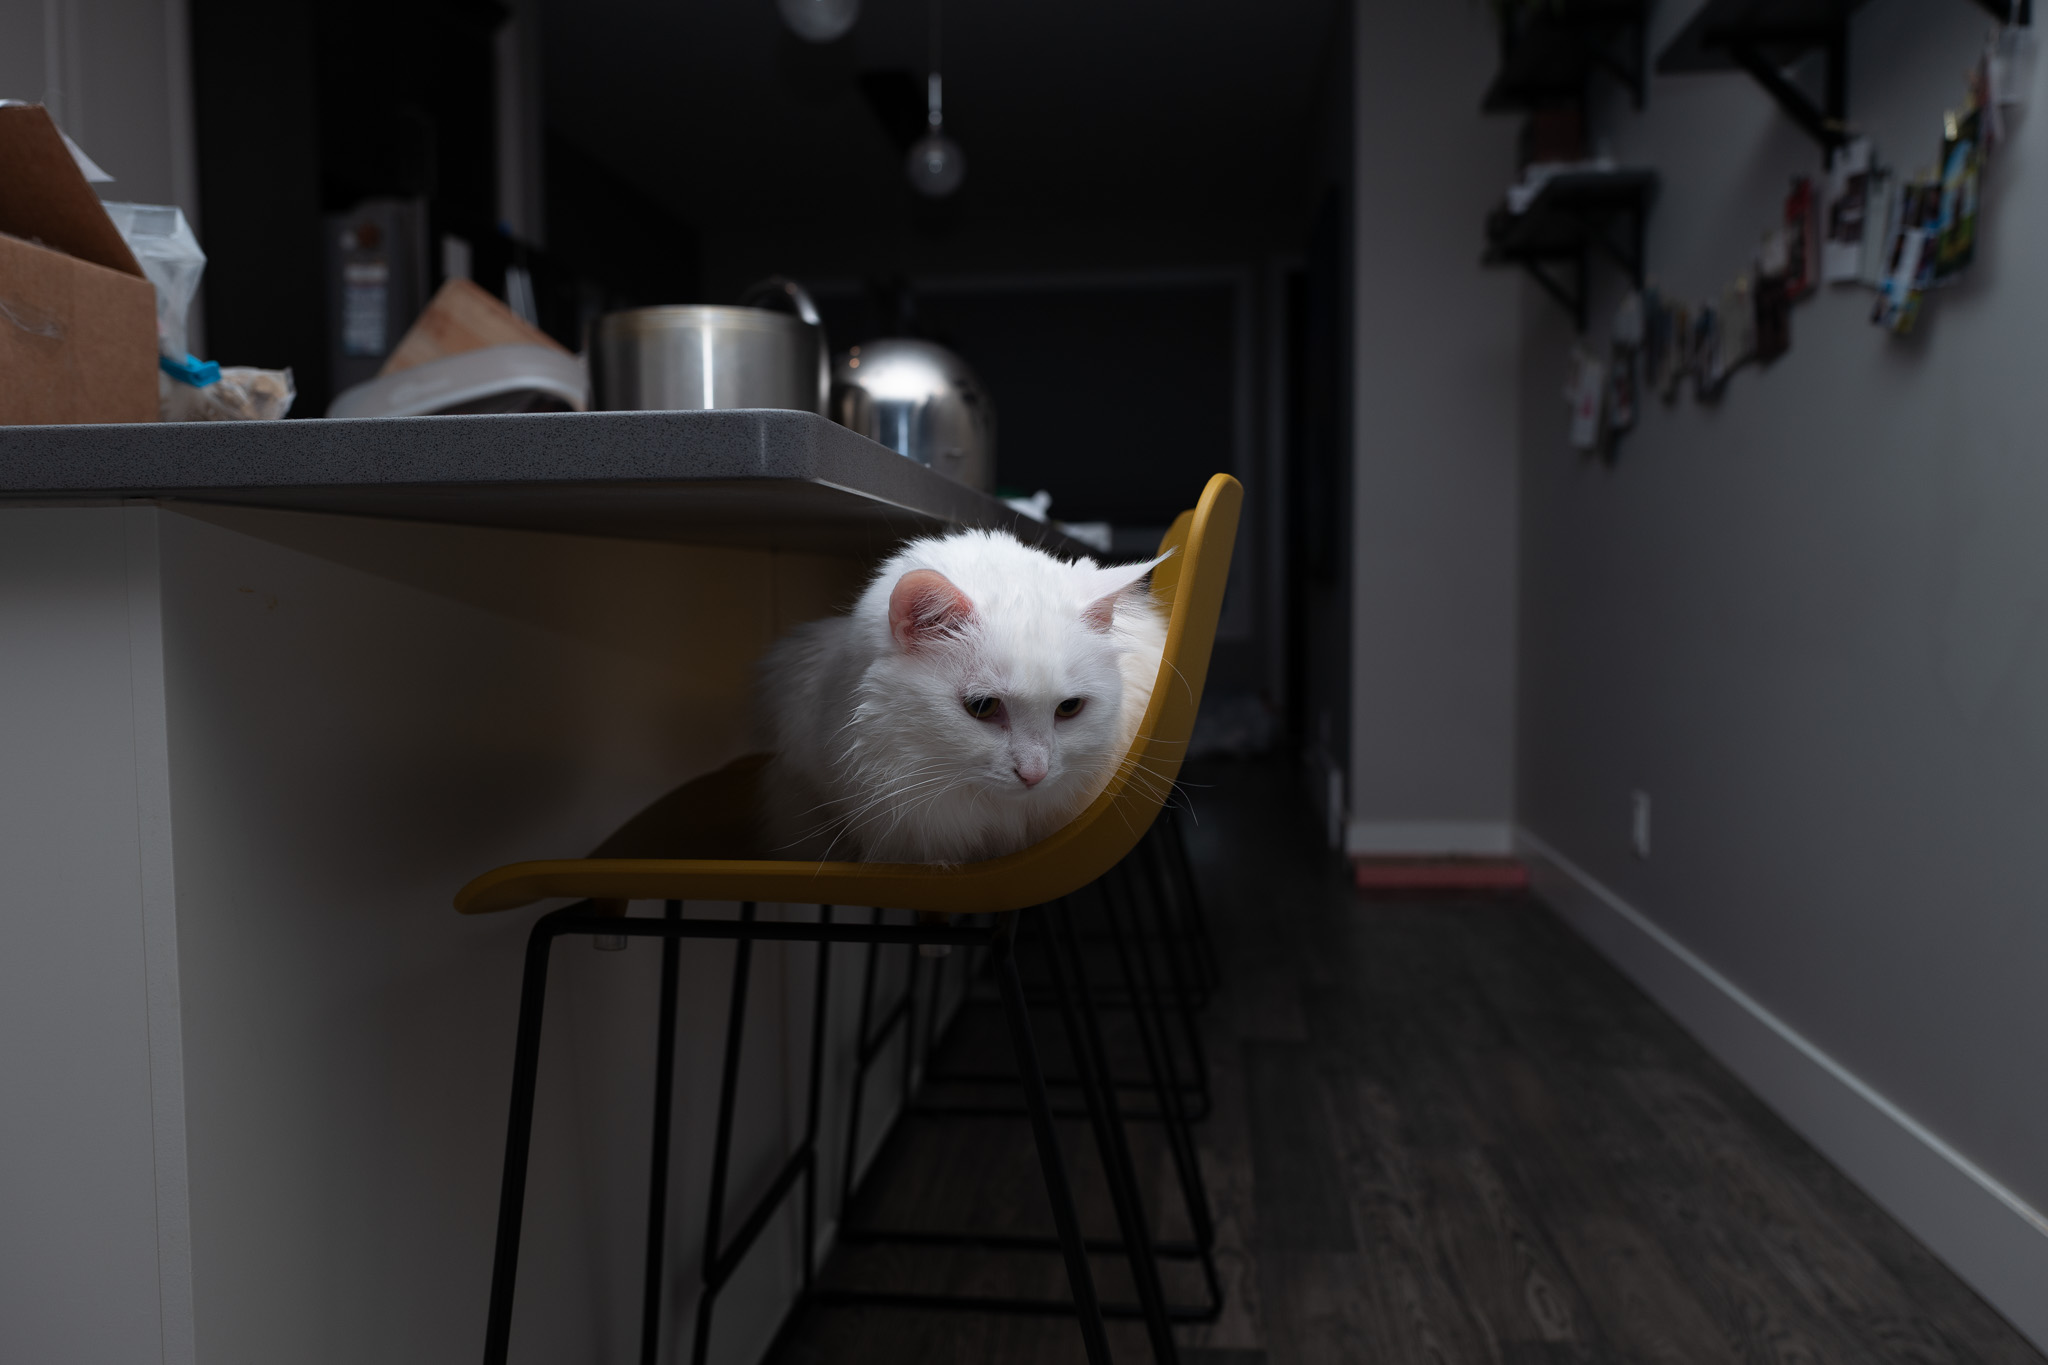
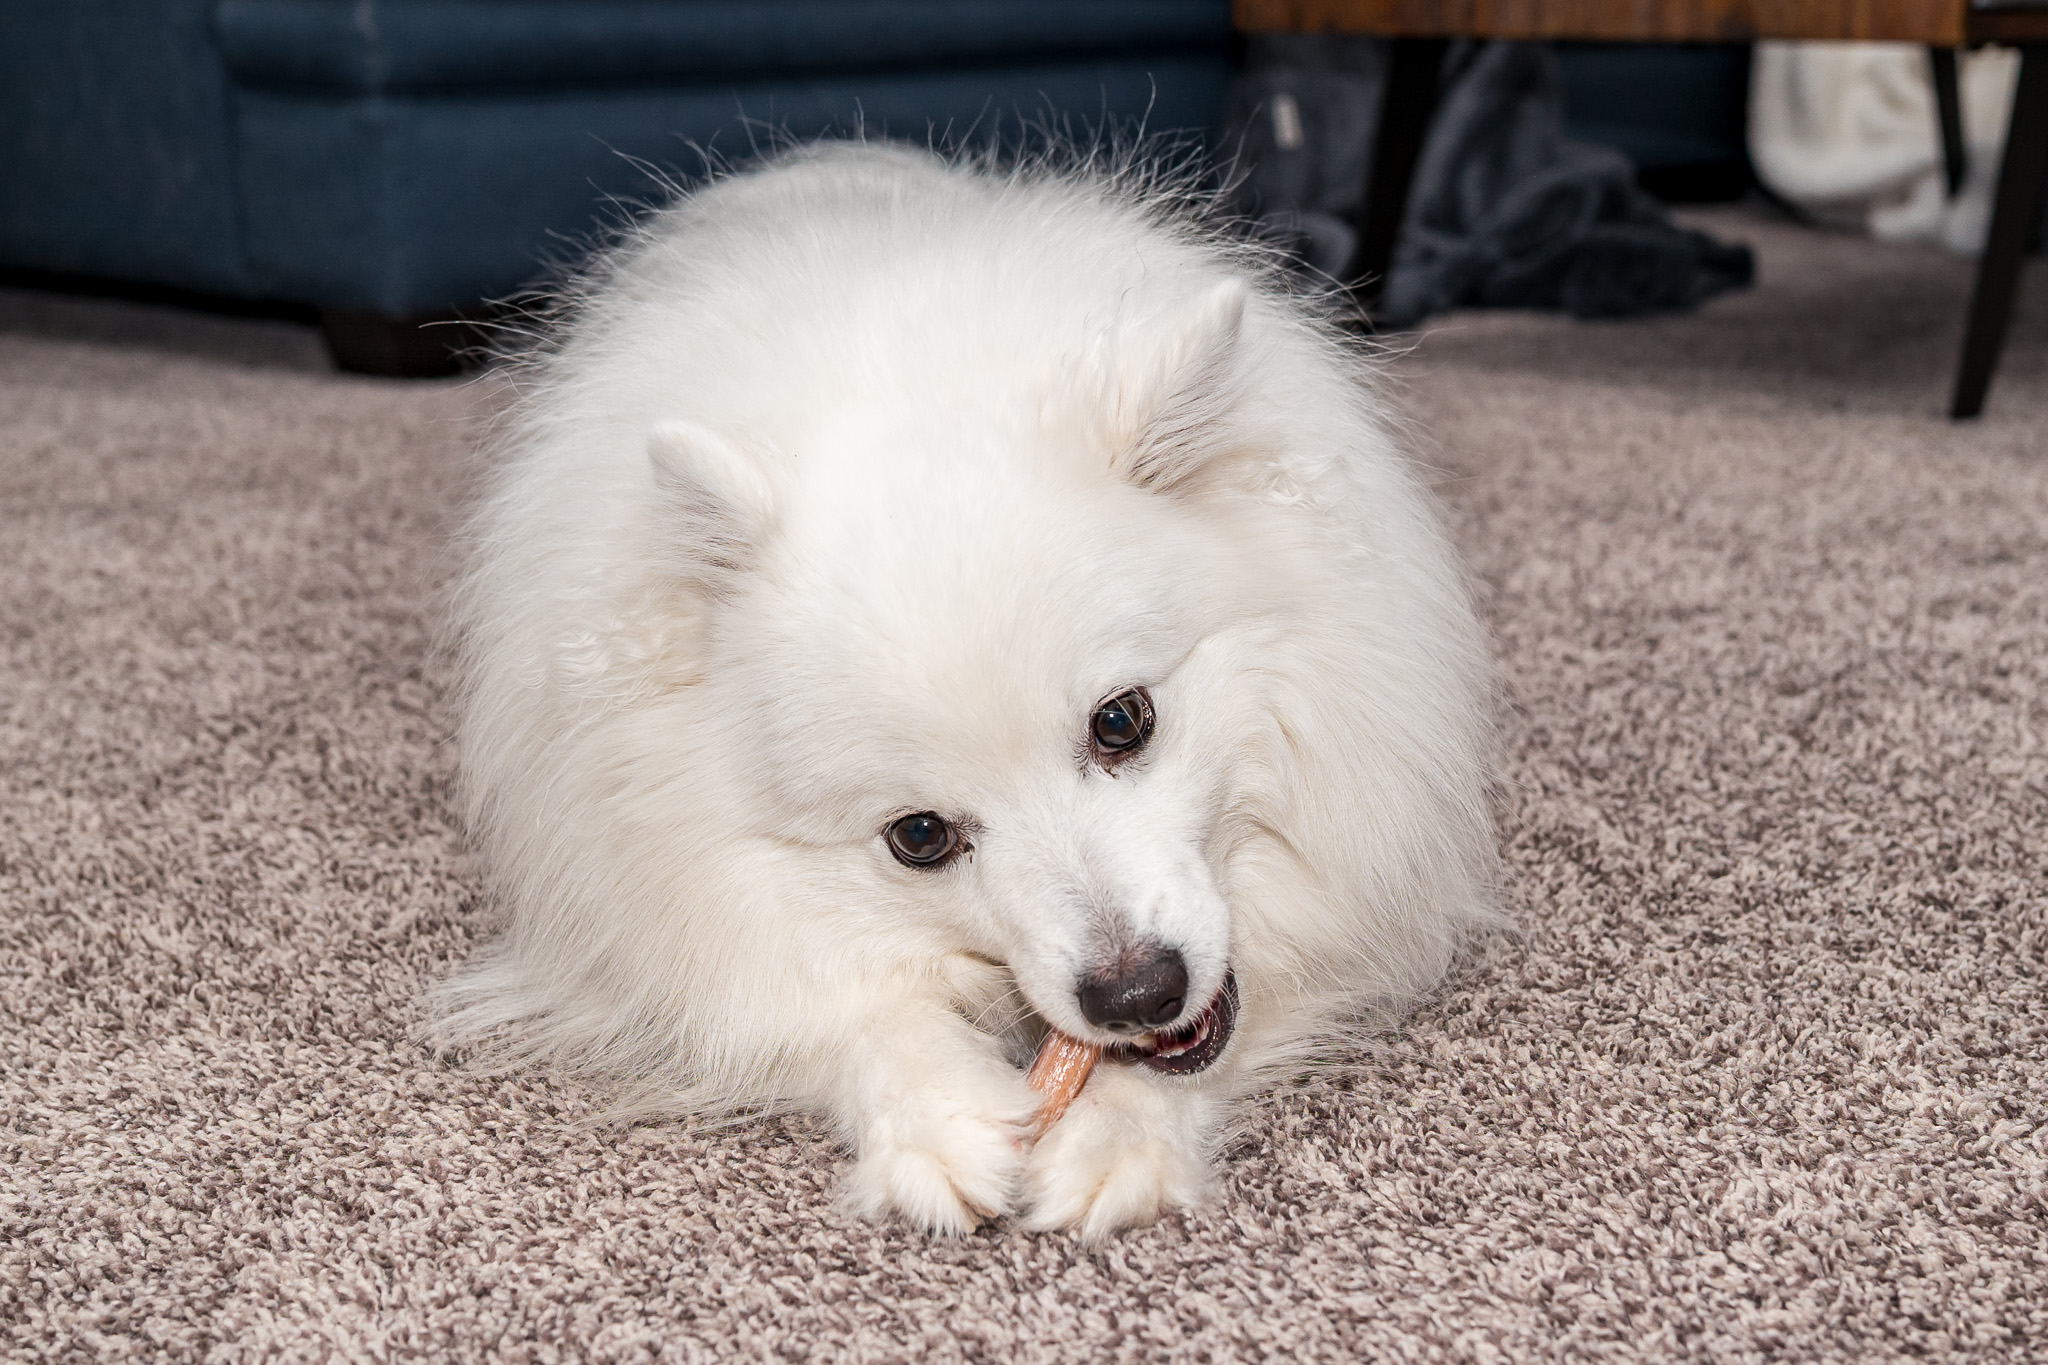
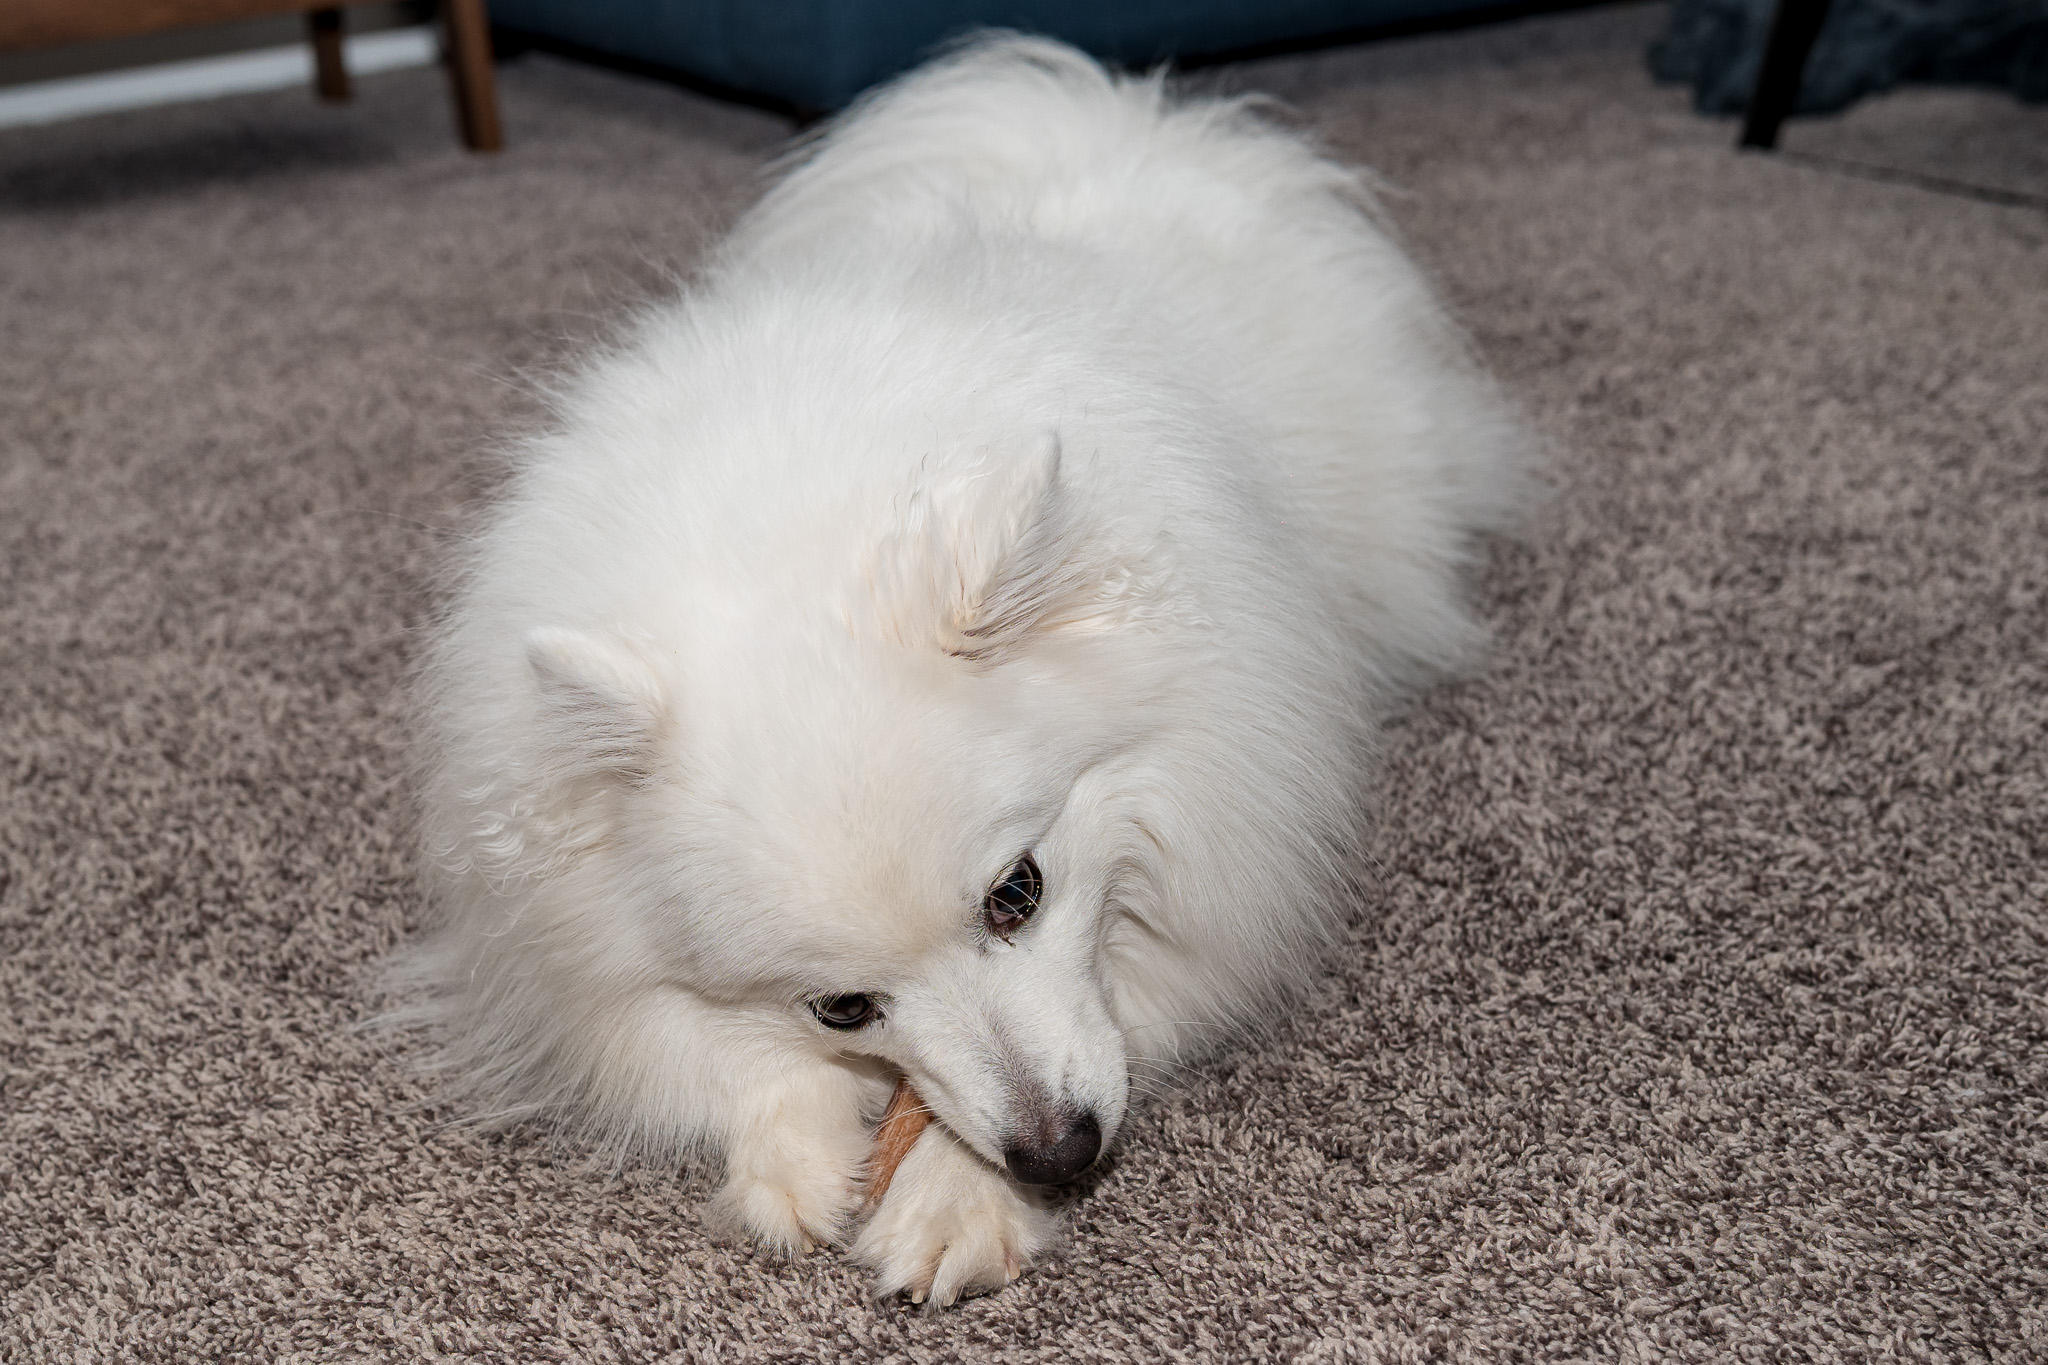
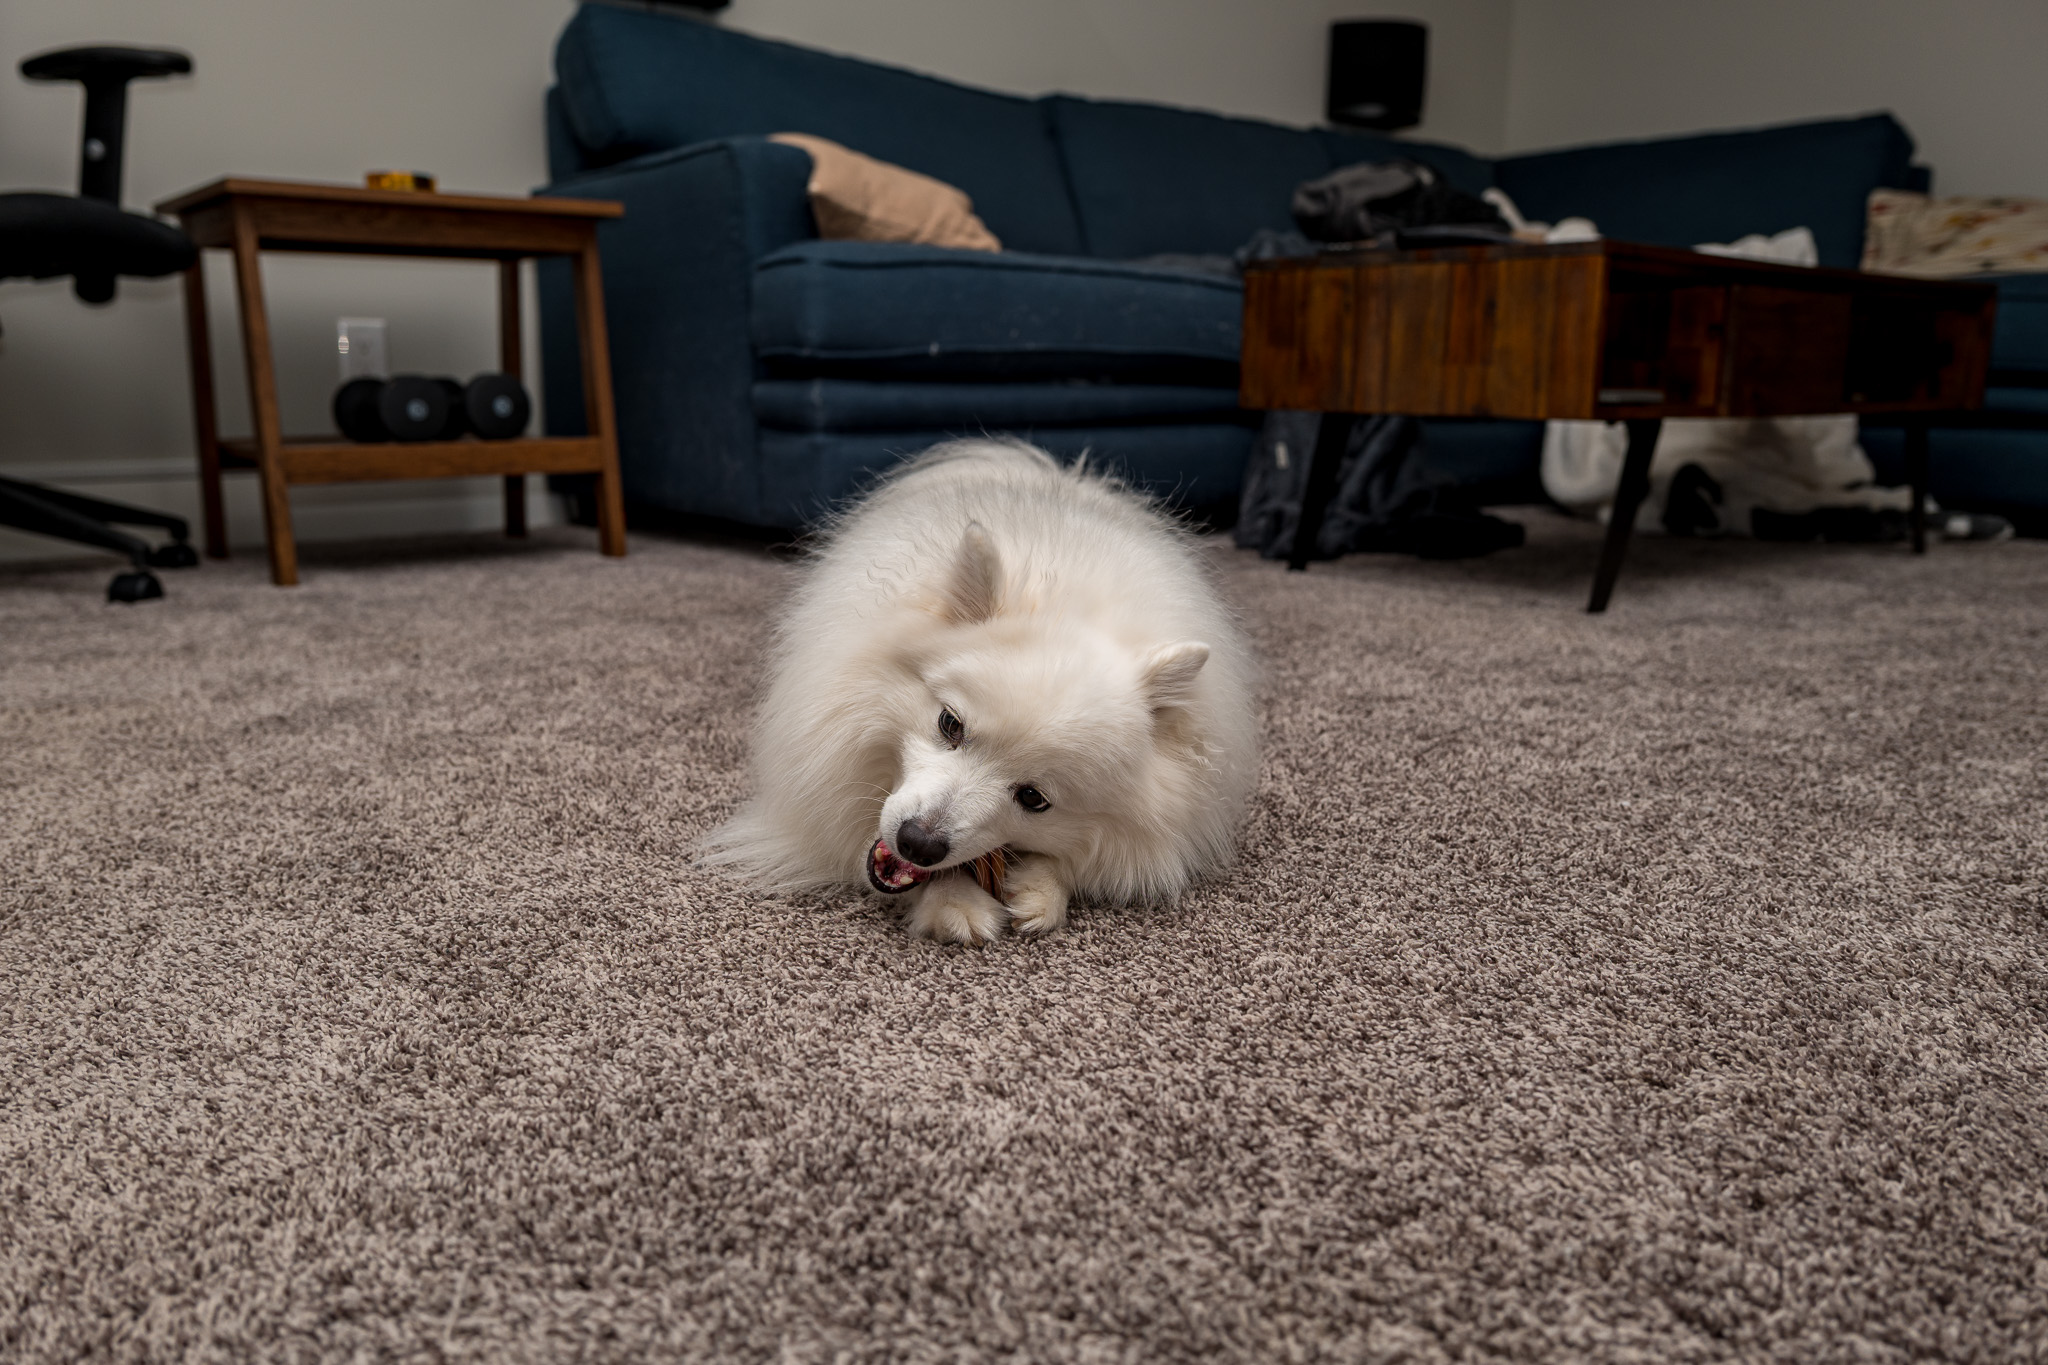
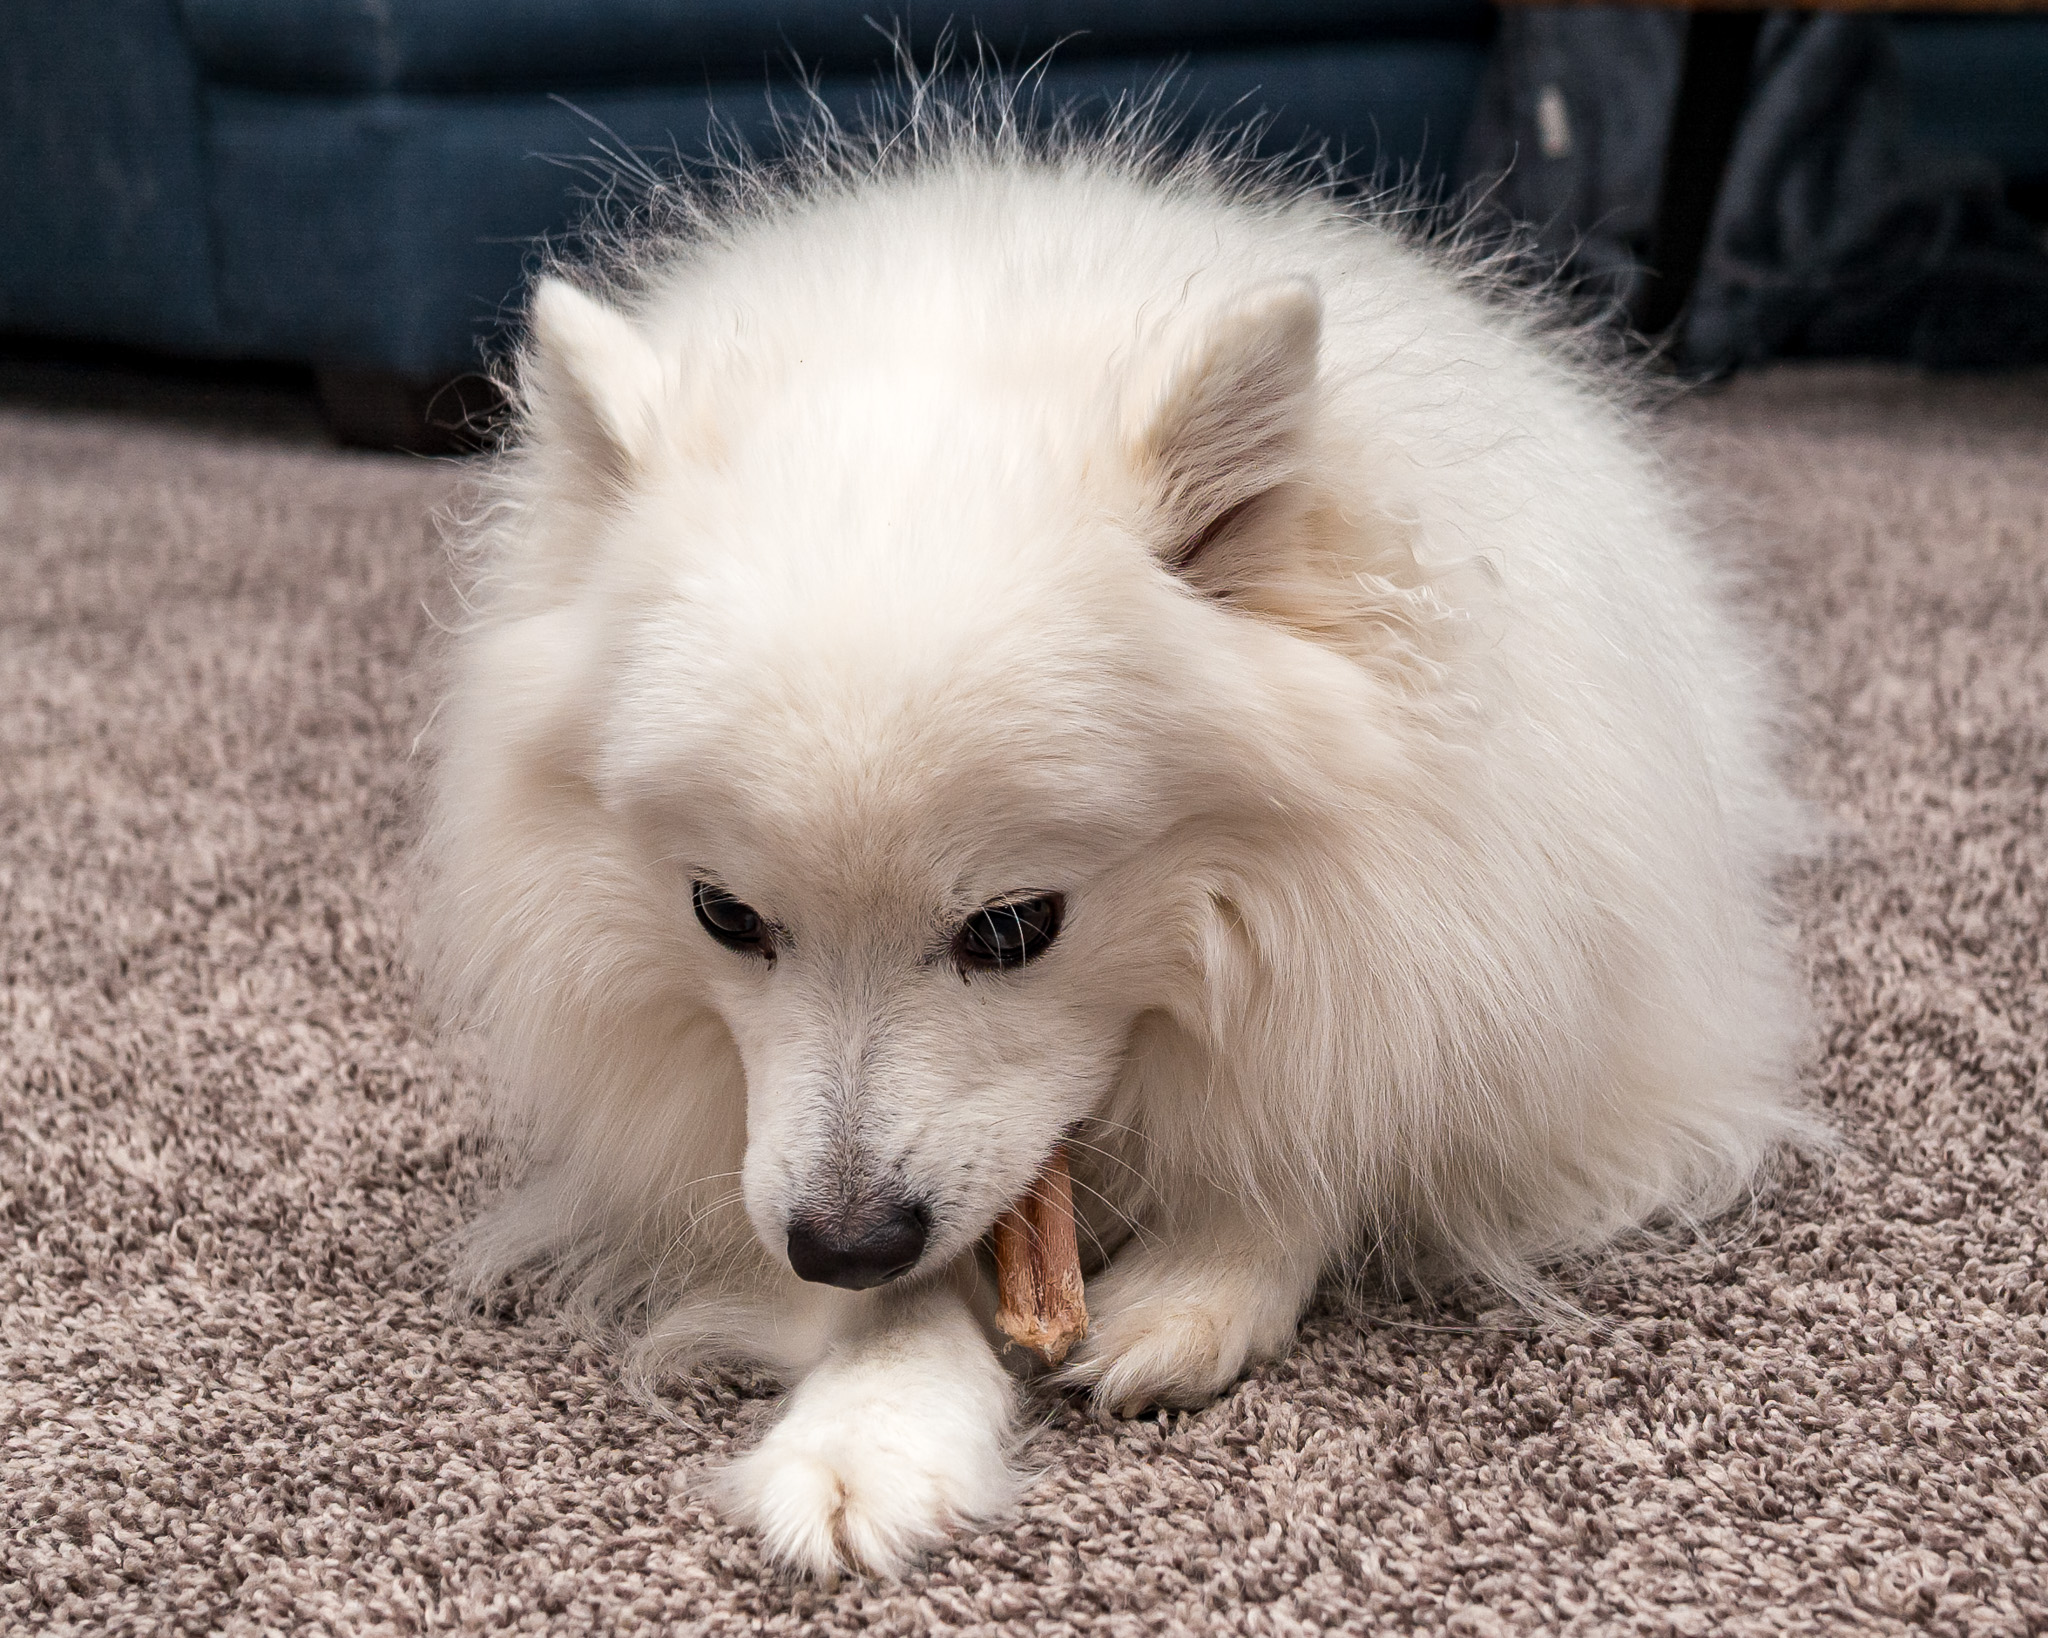
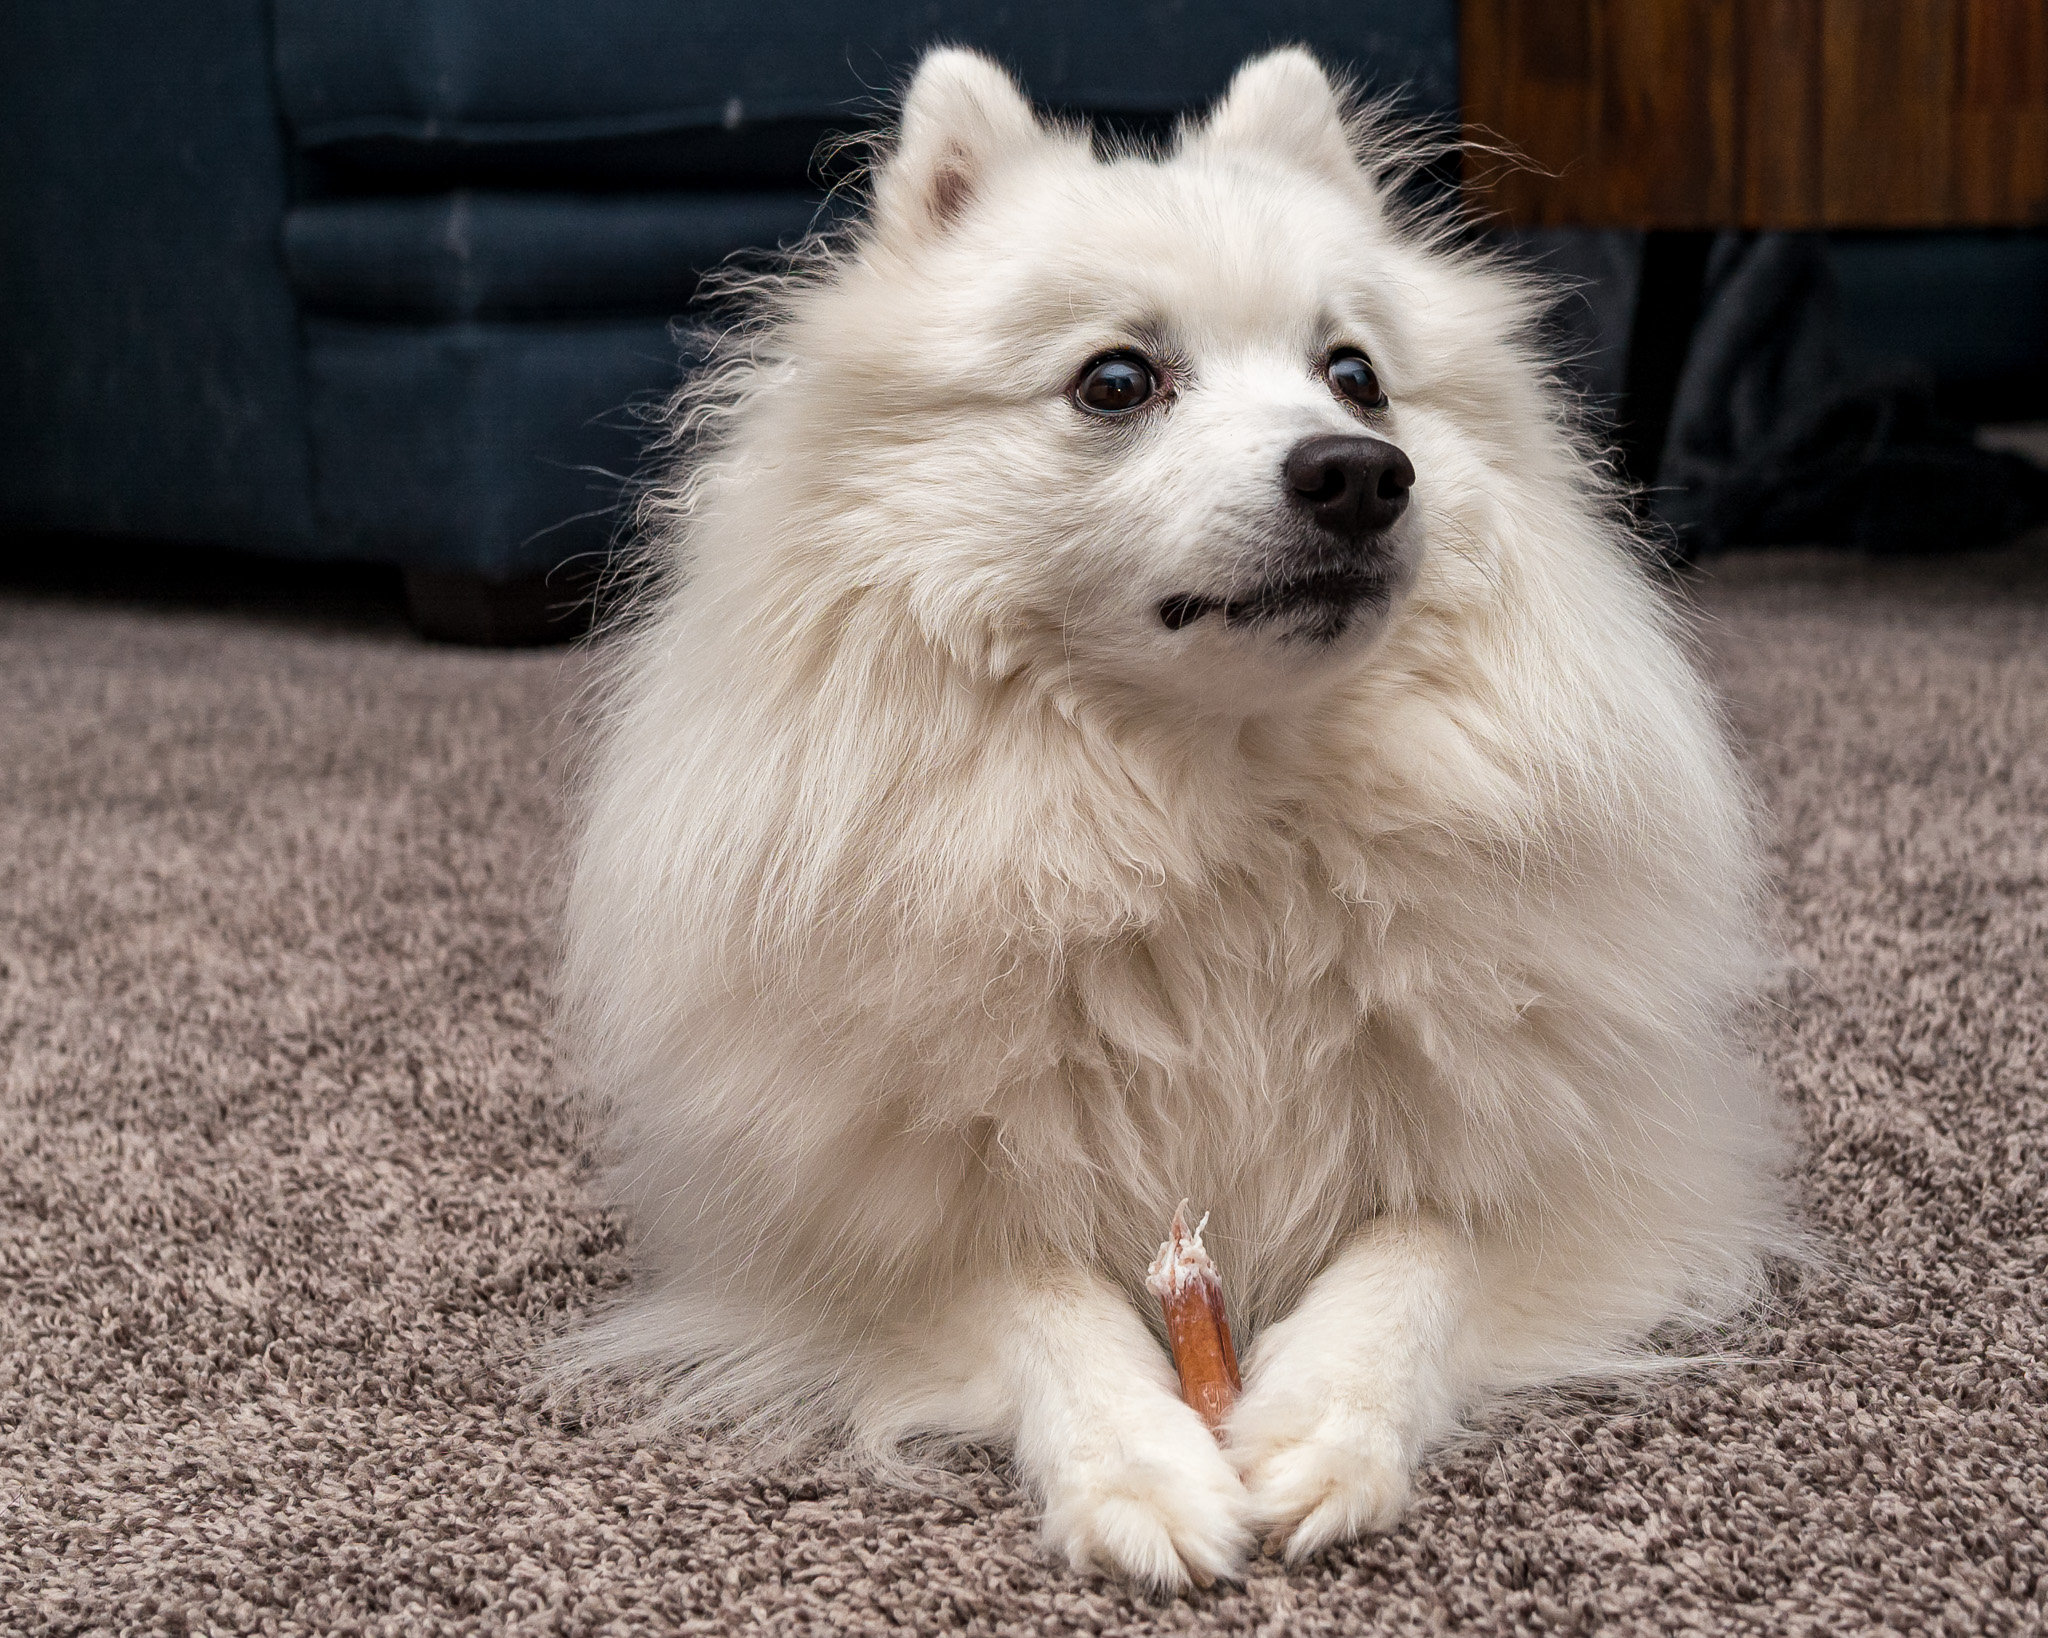
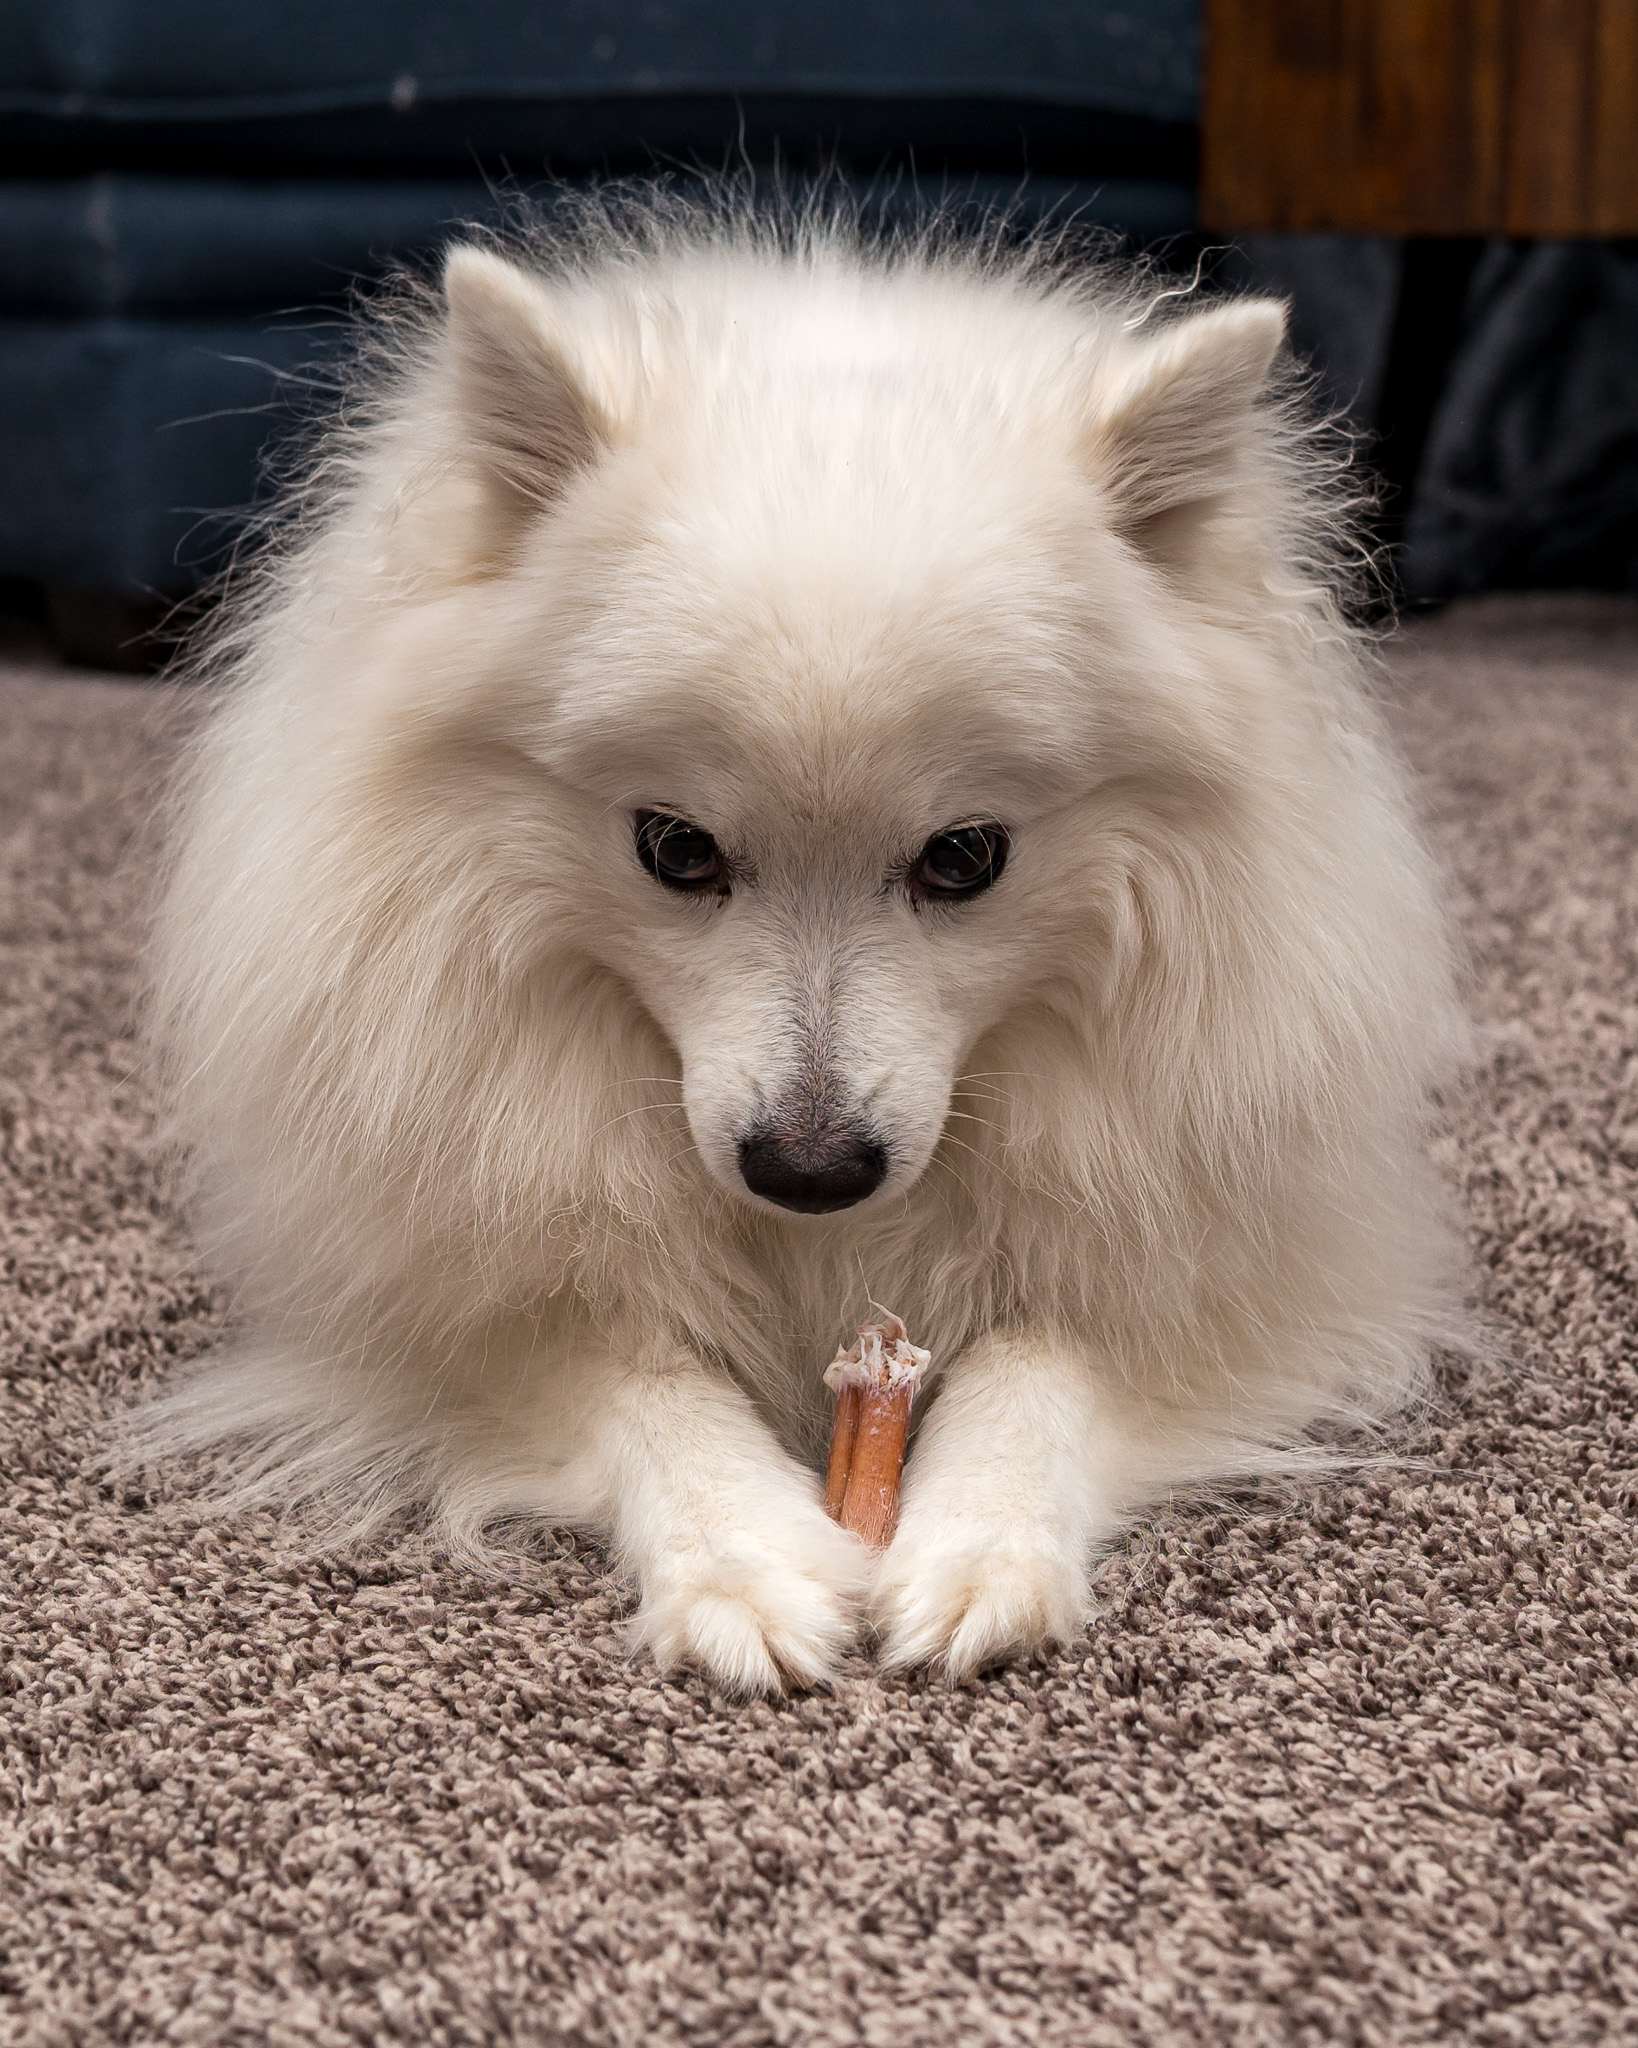
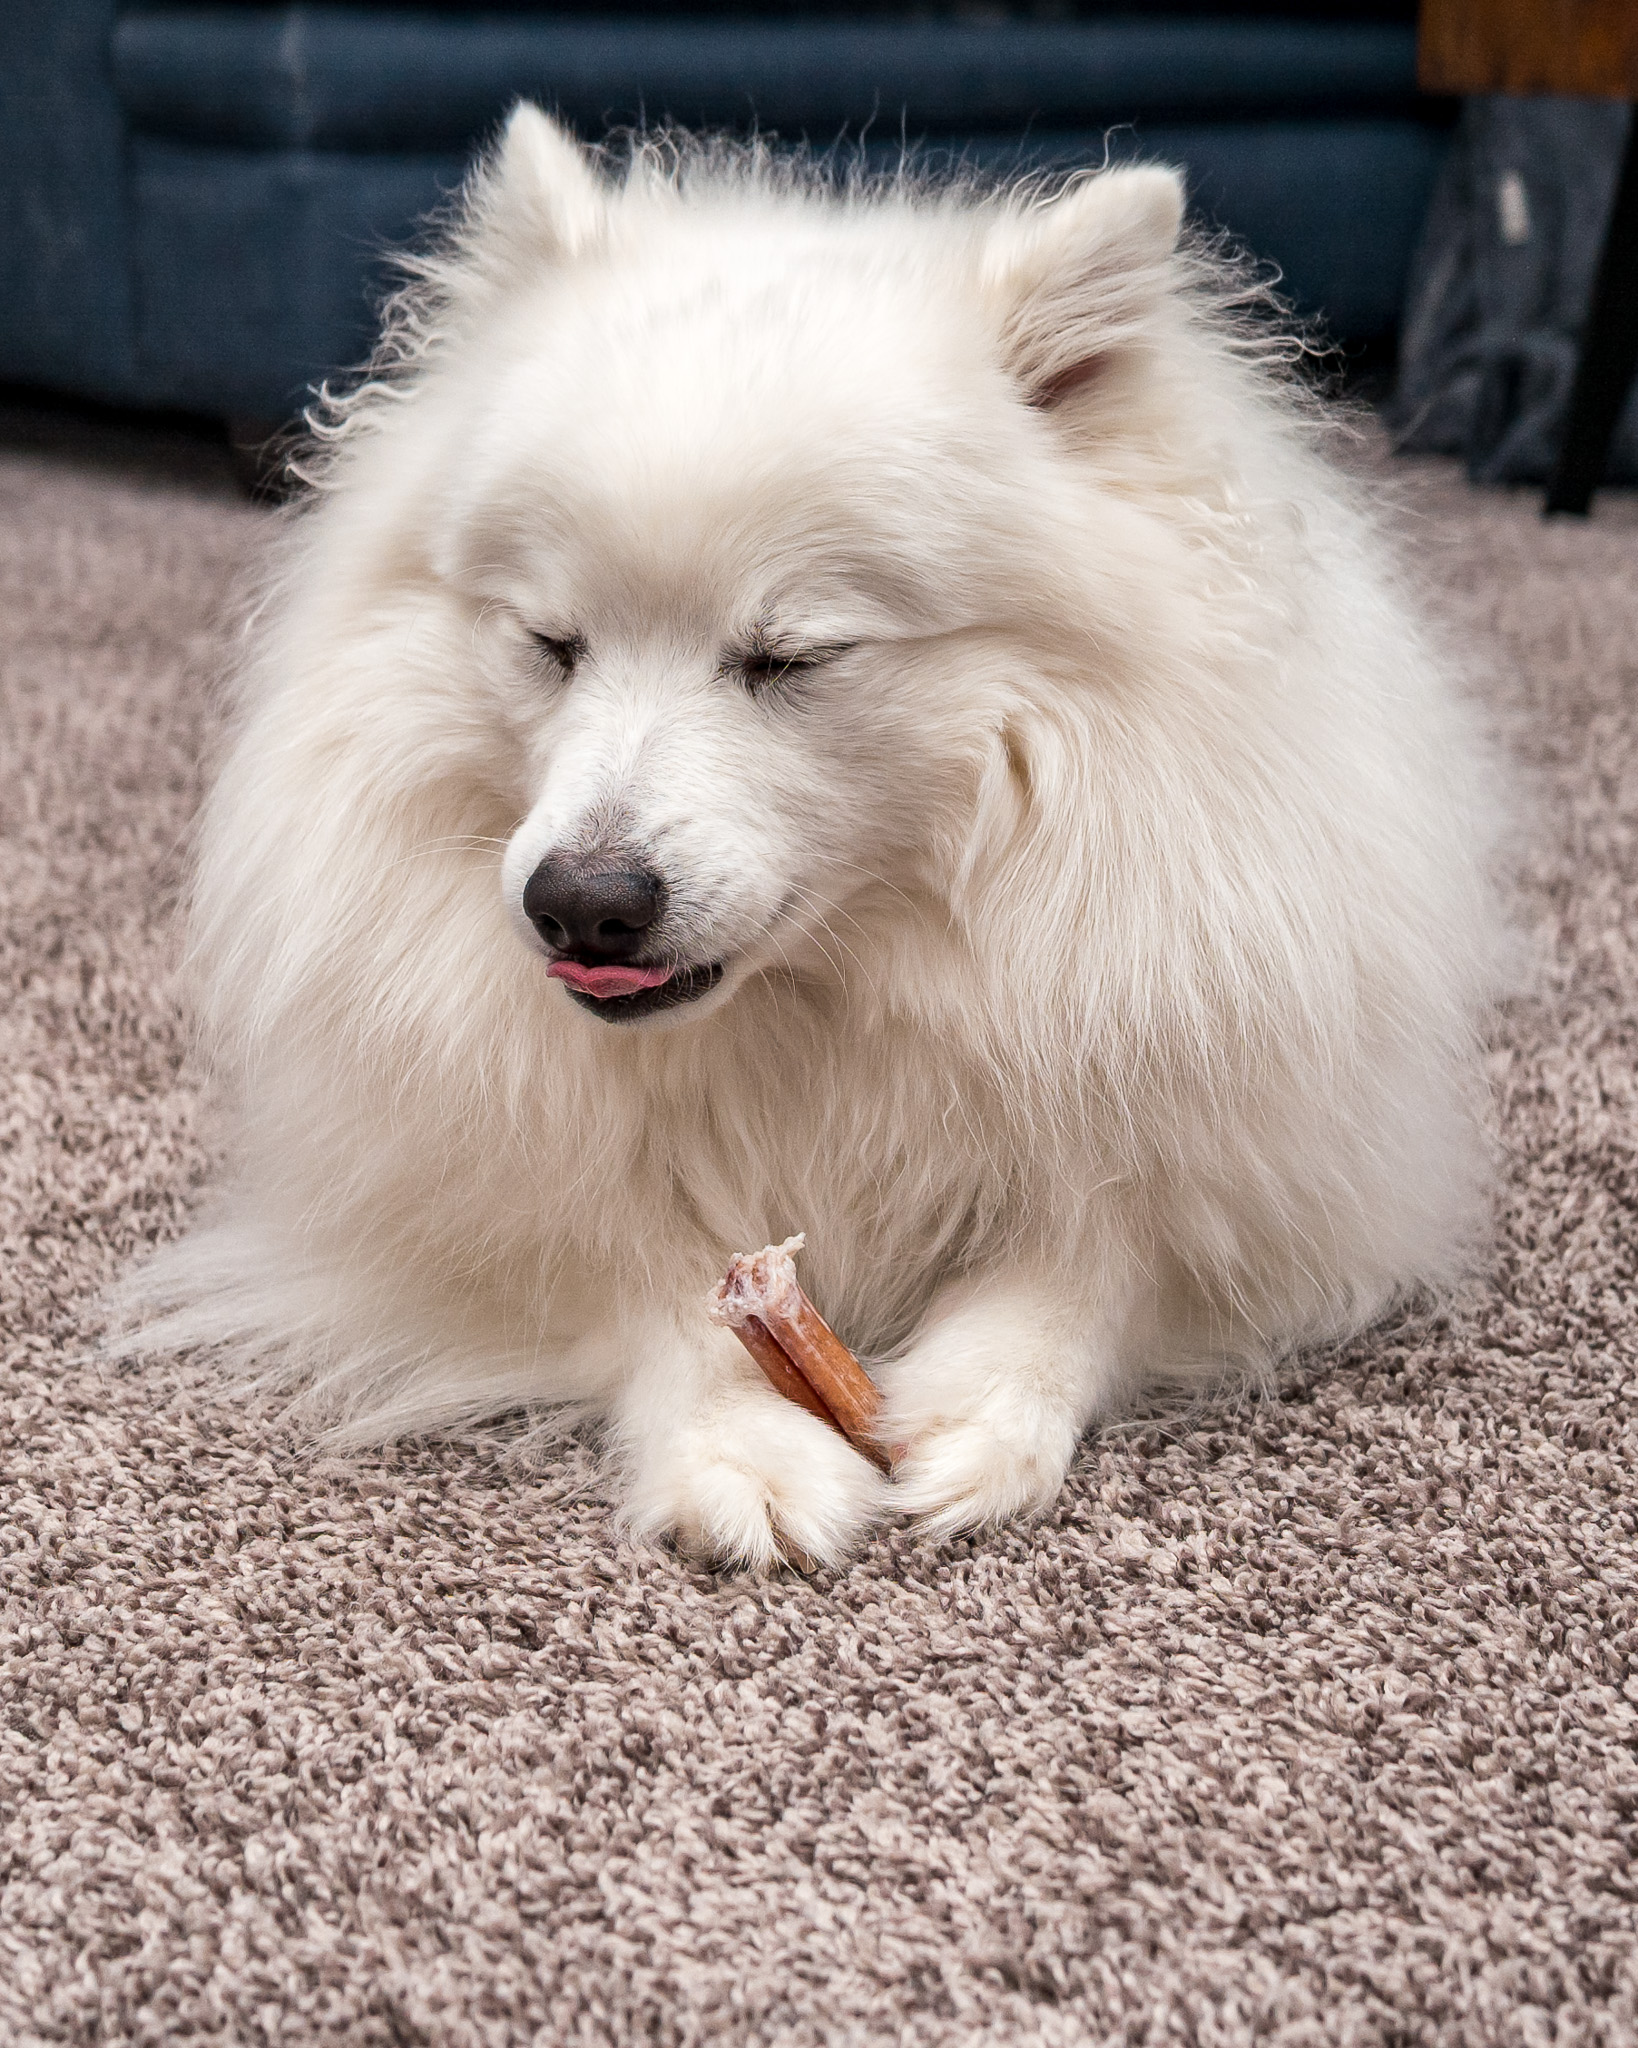
My pets are going to feature in this post a lot. They are both white, one being a cat and the other our dog Albus. Albus typically has really clean shiny fur, so I thought he would be good to capture to show the flash in fill scenarios and direct flash along with a TV stand.
Shutter variation in auto mode
To start off with, I'll show three photos of our cat Fleur that are straight out of the camera raw exports with no edits to give you an idea of the background separation with this flash and shutter speeds of 1/500, 1/1000 and 1/2000. Click on the photos to see them in more detail.
As you can see, there is a lot more background separation on the highest shutter speed here, while Fleur's details remain similar between 1/1000 and 1/500 speeds with variation in the background darkness and separation. While Fleur appears to be dark in the fastest shot, there is still plenty of detail to be brought out in Lightroom. This is using the auto mode on the iA32 with f/3.5 and 100 ISO as you see in the photo captions.
Fill vs Direct Light
There appears to be plenty of power from this small flash when using it indoors. While I haven't tested it outside yet (it has been way too cold here in Edmonton), I look forward to seeing how it works with more direct shots once things warm up here to a reasonable temperature. While two of these are cropped shots (in lightroom, not shot) and one is not, they are shot at the same settings, but two directly and one with fill. You can see the fill is a lot softer on Albus and you can make out his hairs a little bit better. Given his coat at this stage of winter, I think it shows his actual hair colour a bit more too. He only comes out that white after going to the groomer in the spring!
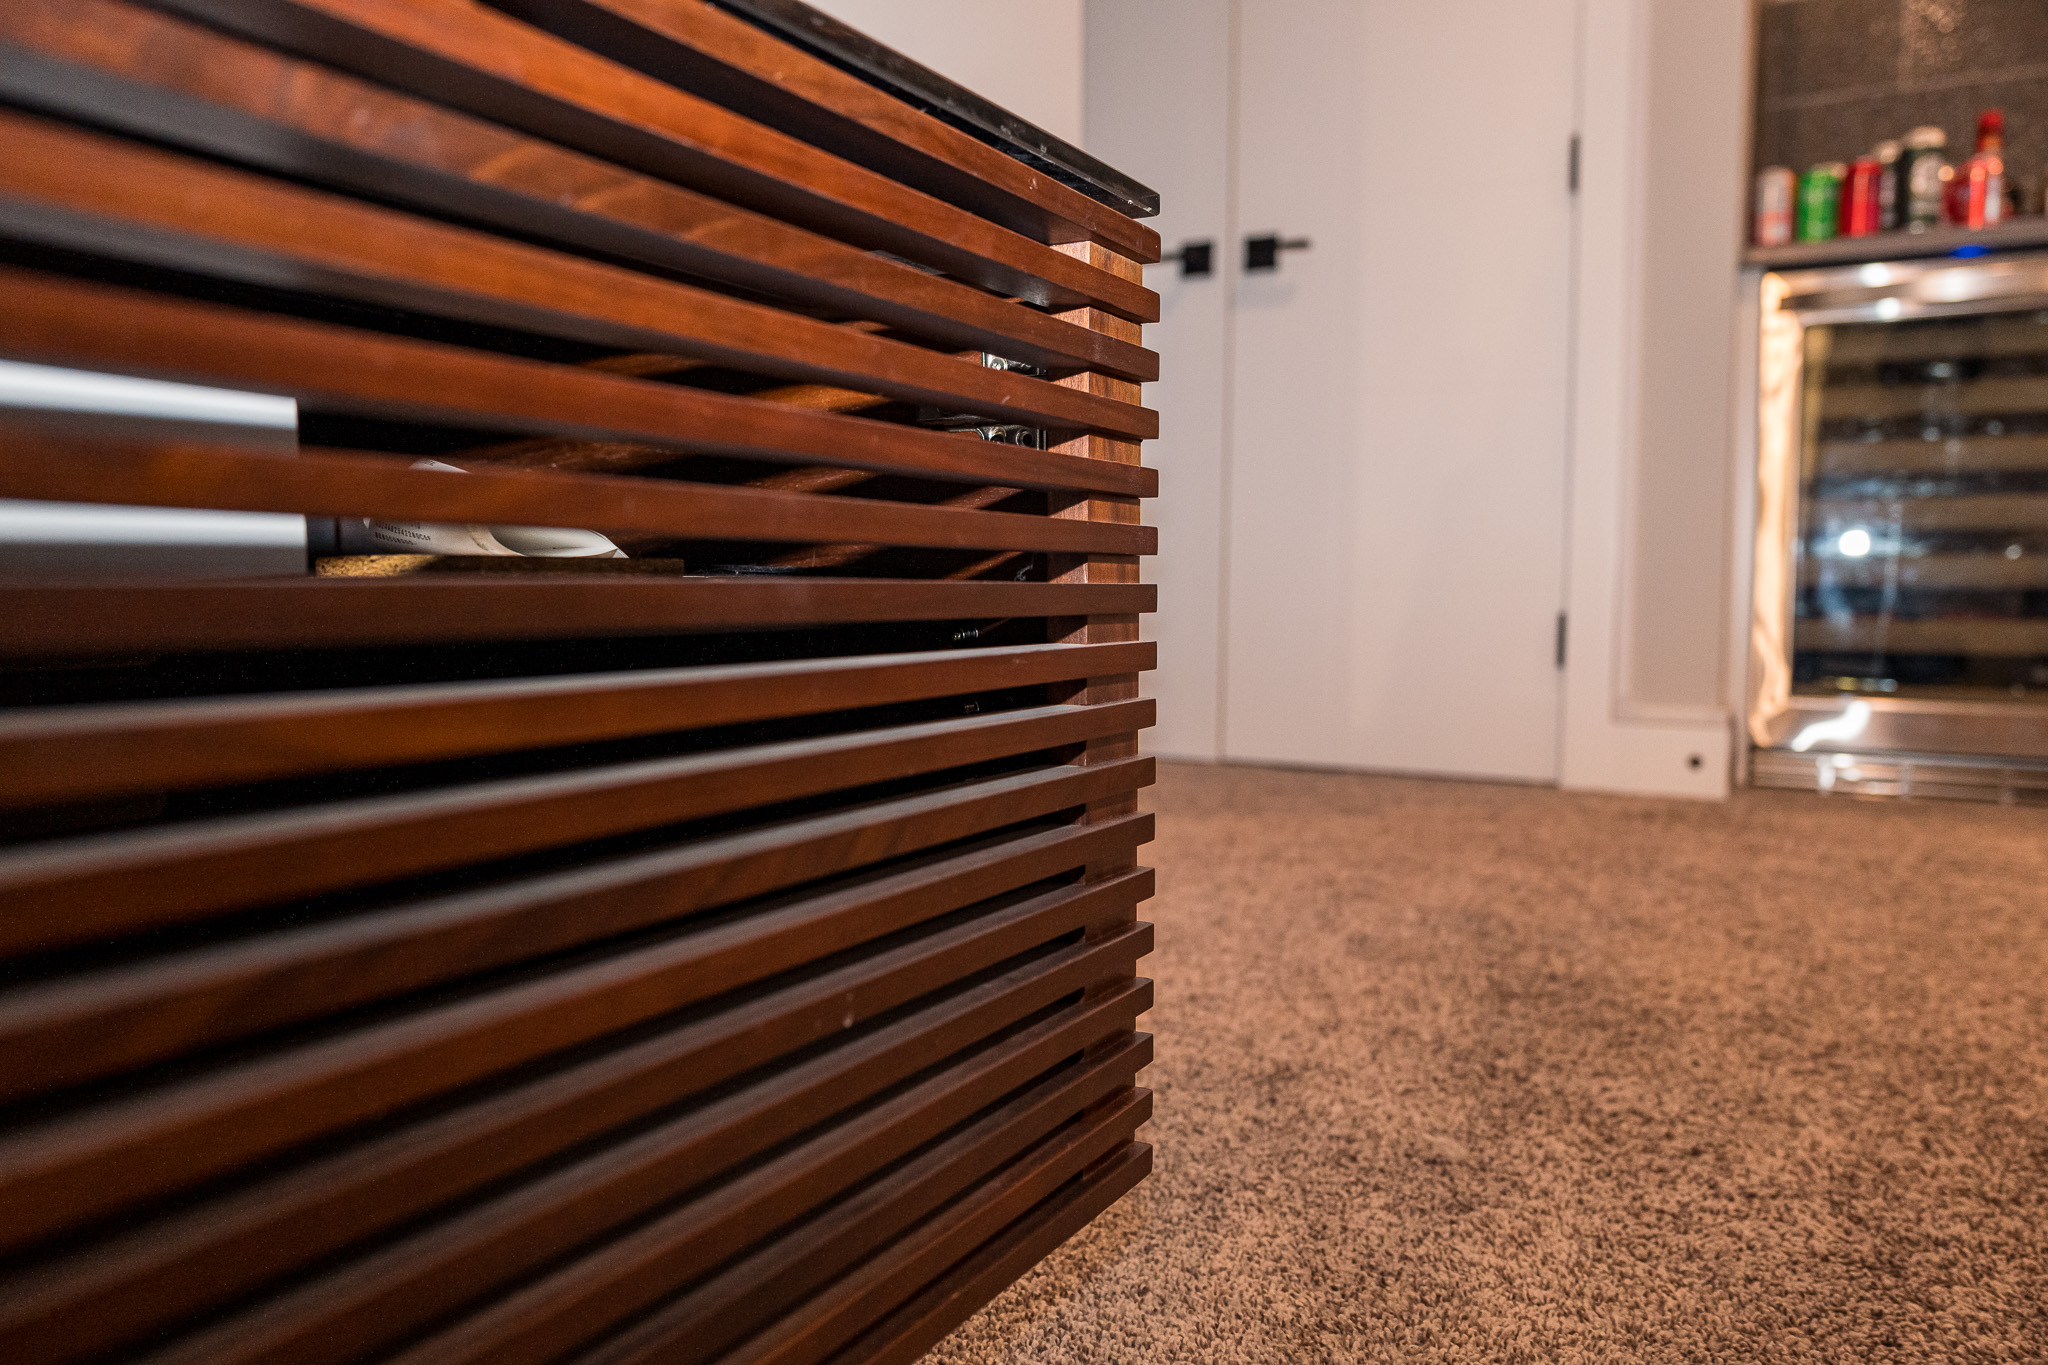
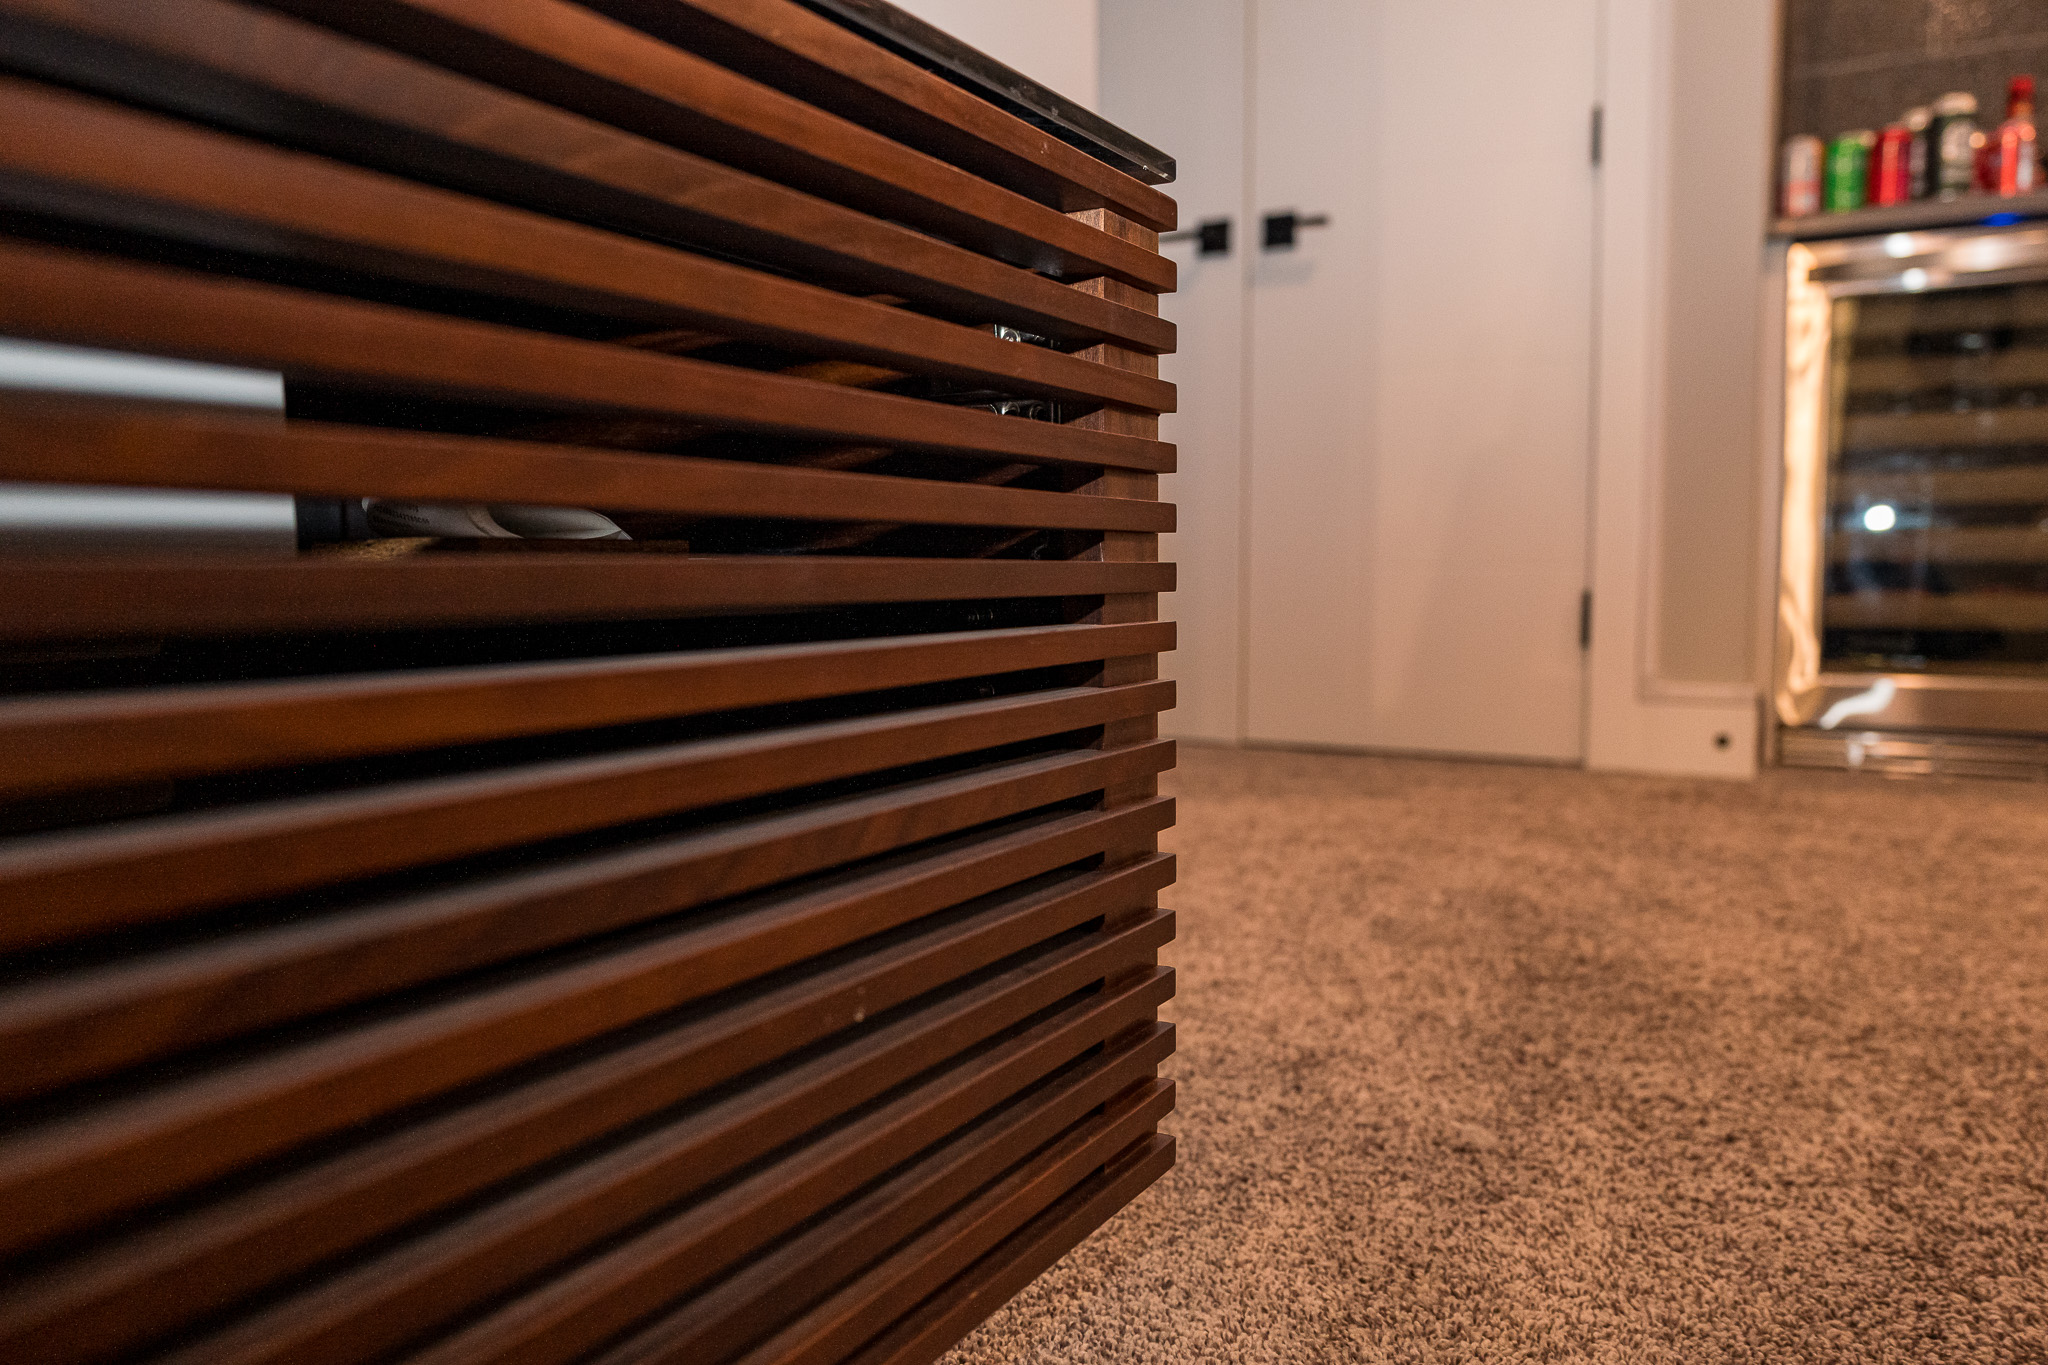
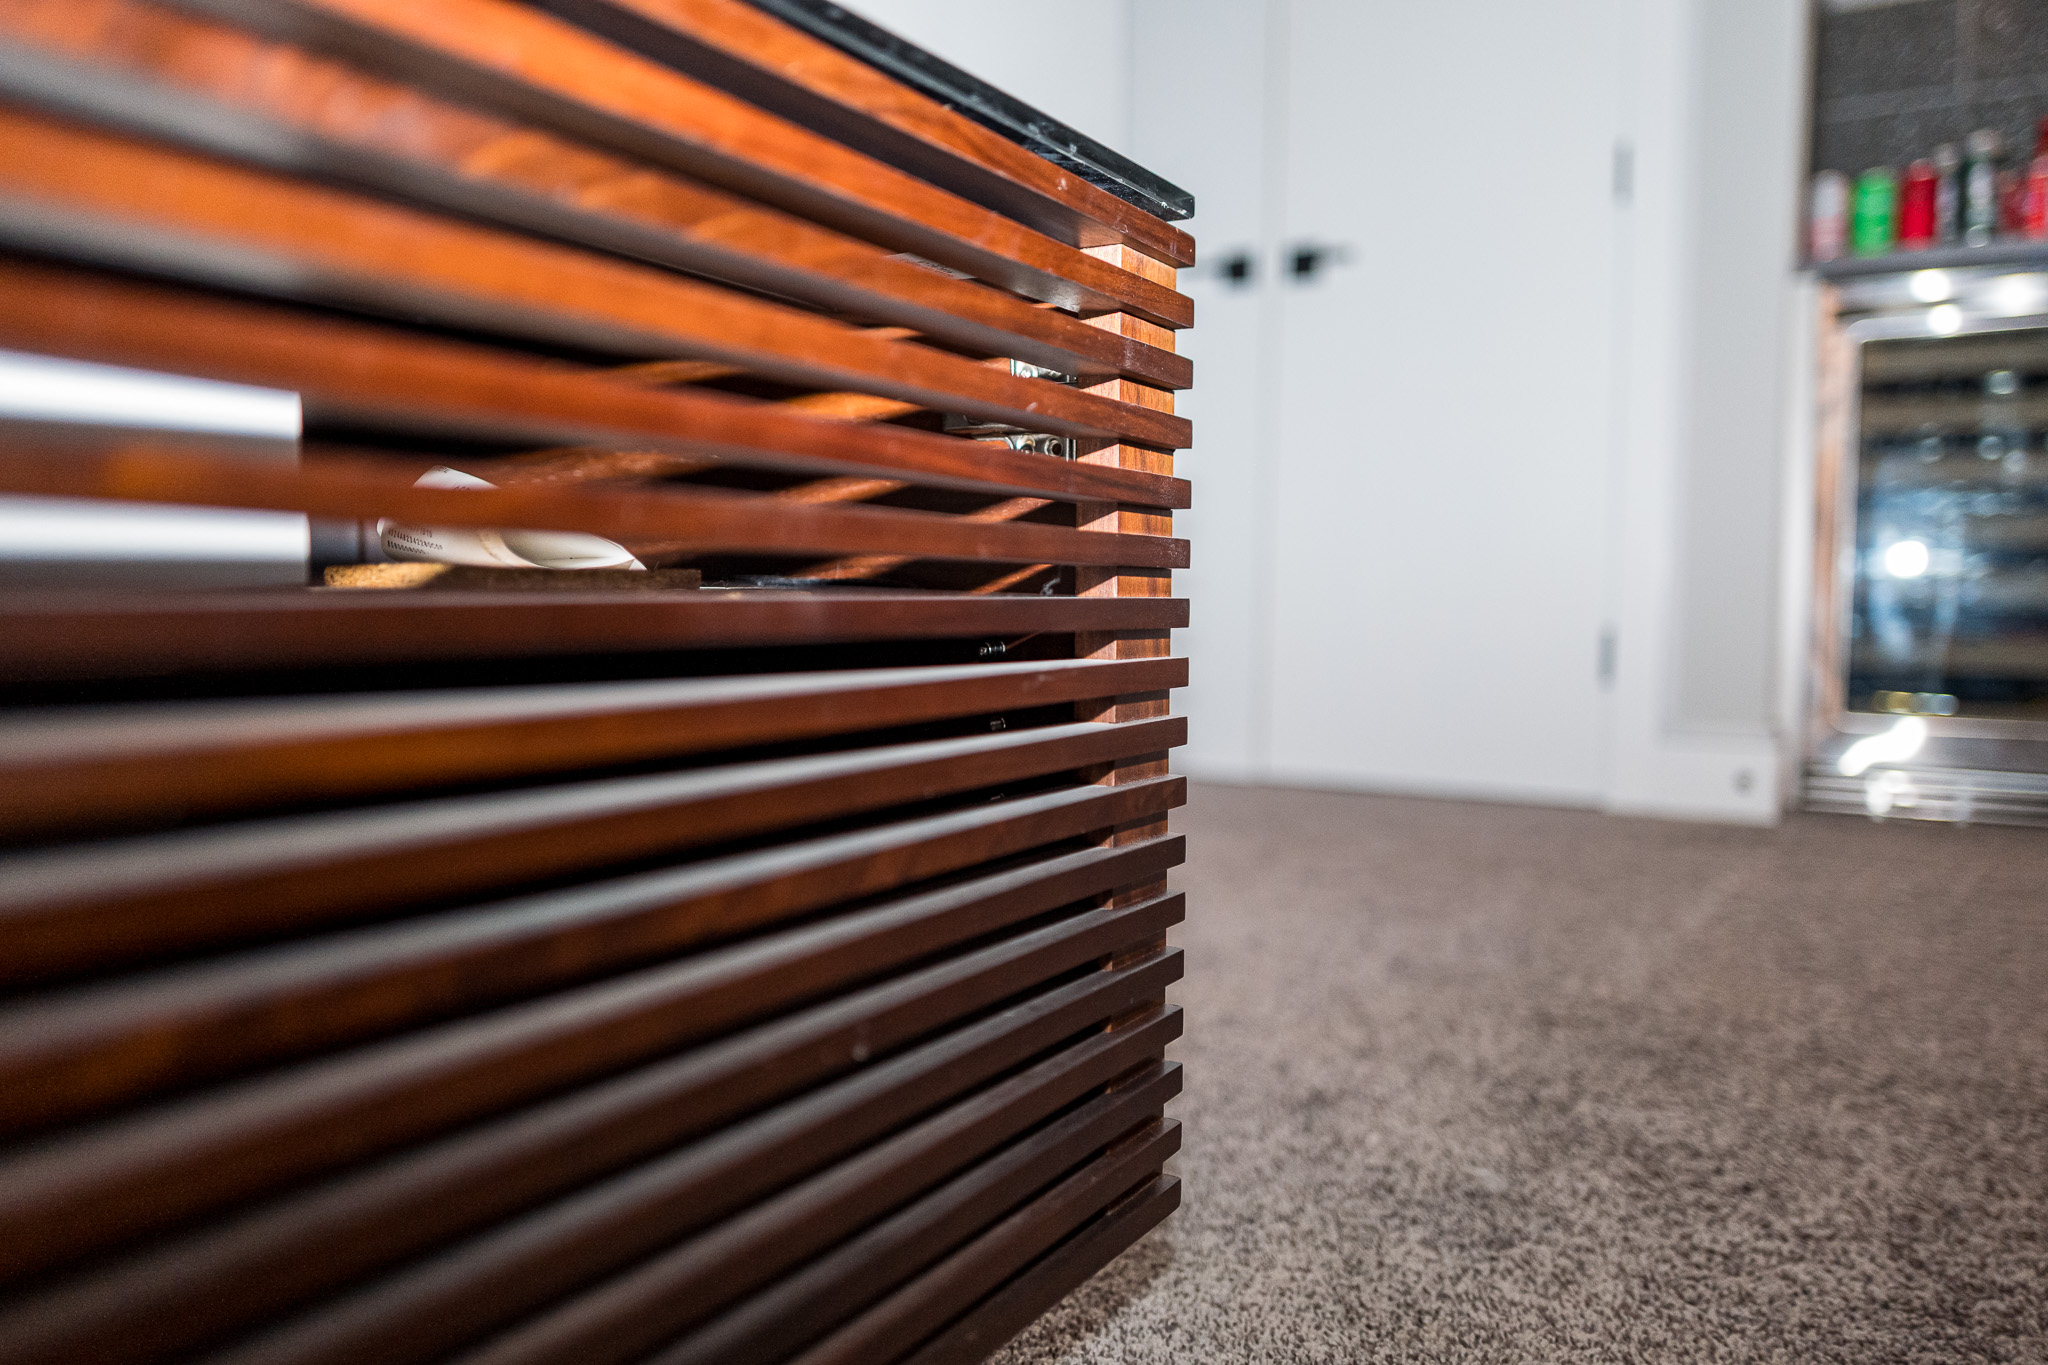
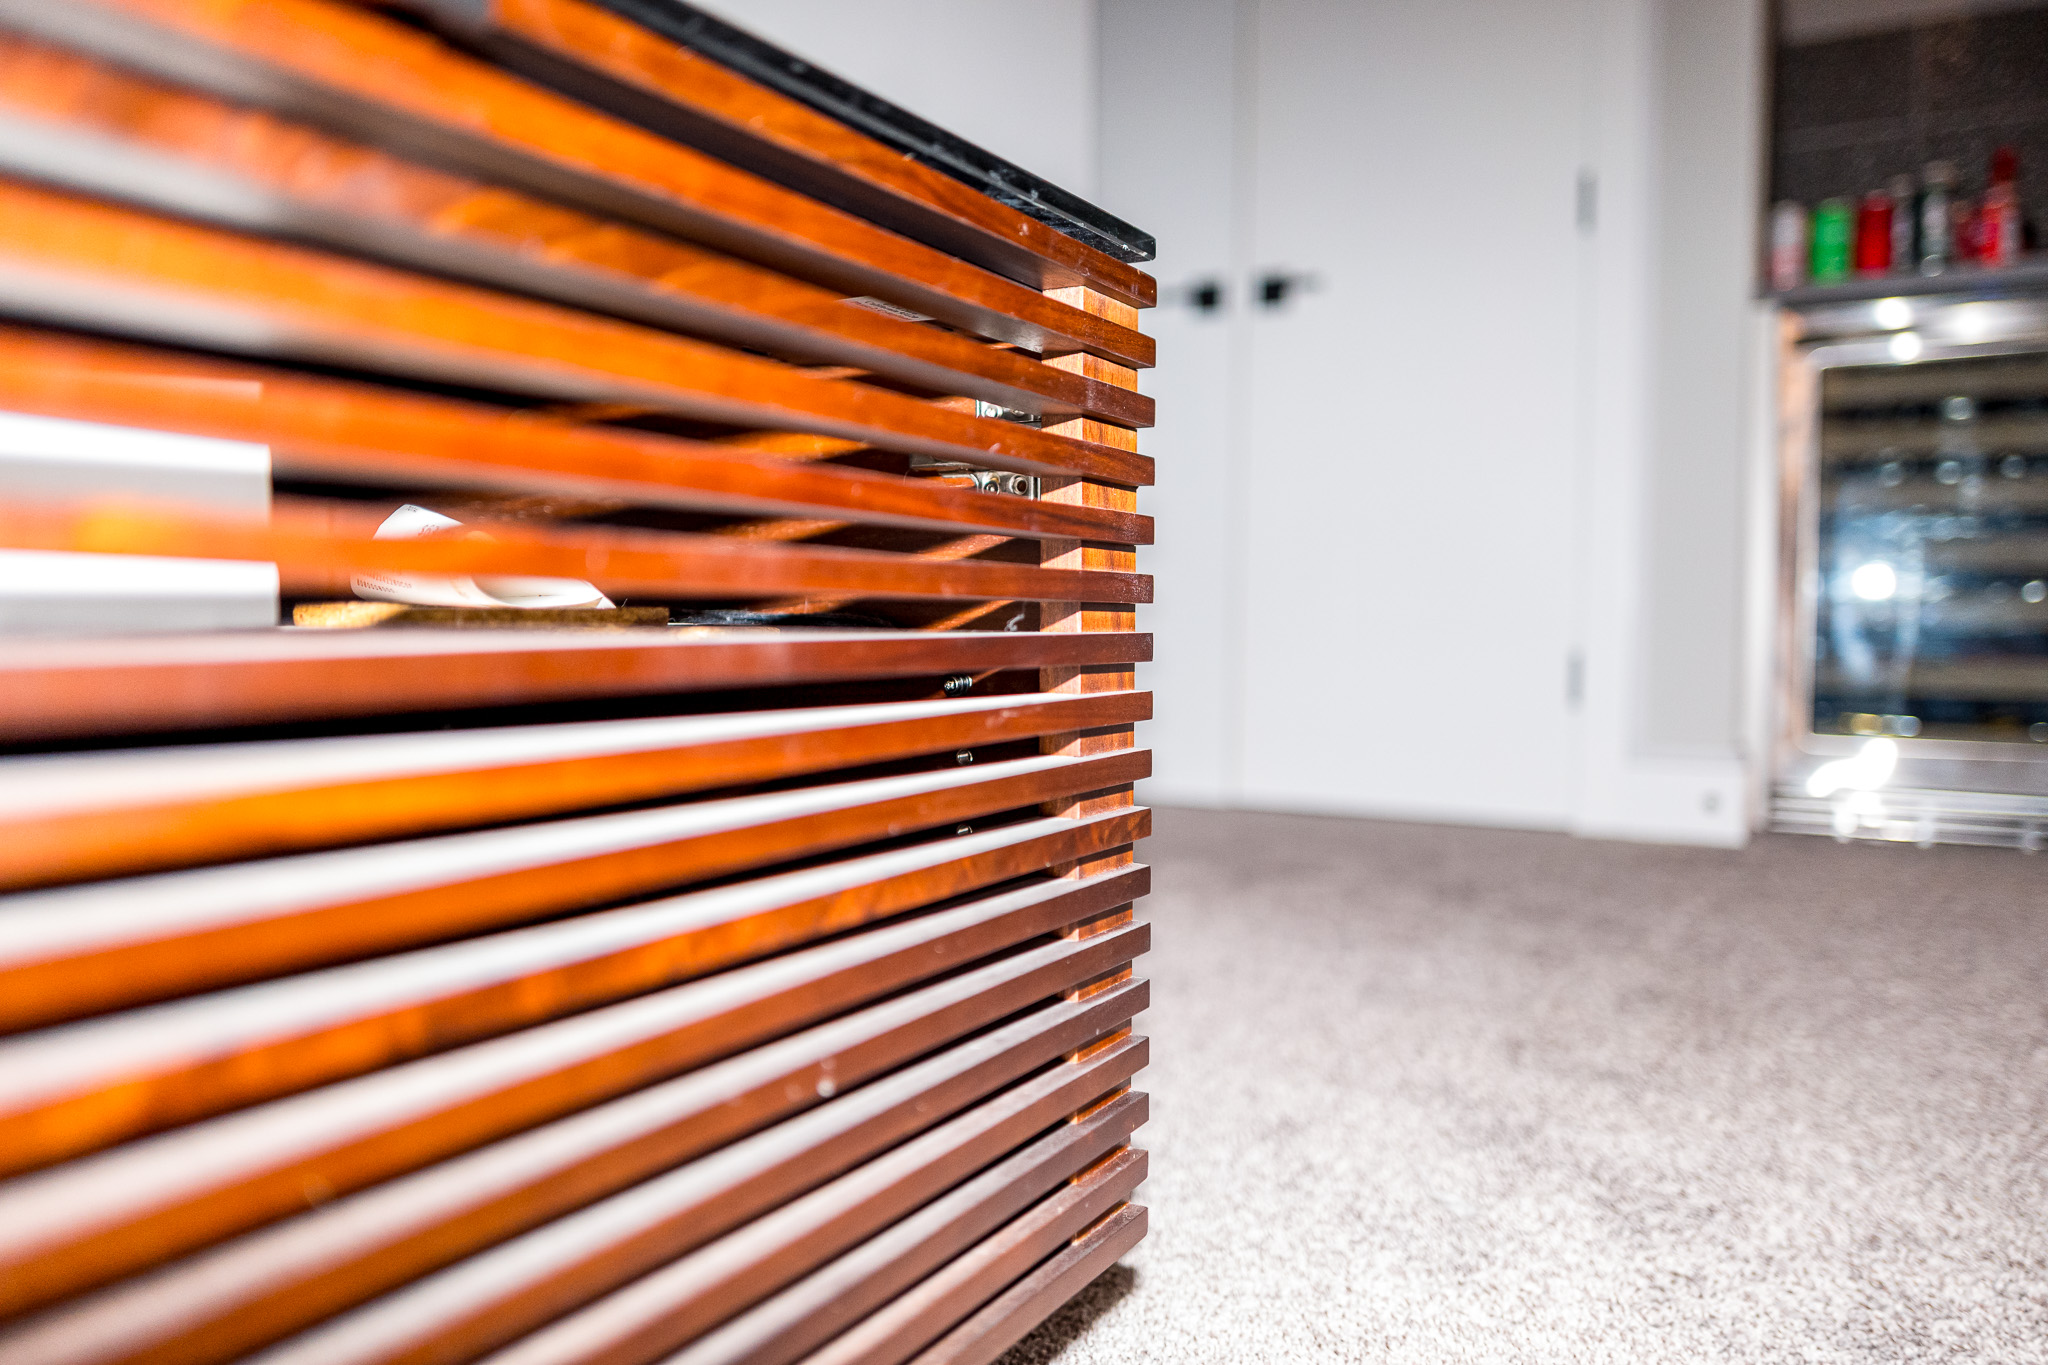
Okay, on to the TV stand. I believe I was using manual mode for these shots, so the ISO is a lot higher on these versus some of the other photos, but they should give you an idea of the impact of the angle of the flash. The first photo was fill, second fill with slightly more forward flash, the third being 30/45 degree, and then the last one being 0.
Last but not least, some of my favourites of Albus where I had dialed in the settings on auto a bit more and was using mostly straight up 90 degree fill. There may have been a few with 75 degree tilt. The light on Albus was much softer in these shots with good separation from the background. I used -1 exposure on most of these shots too to darken the background further. These have crops and edits from Lightroom.
All in all, so far I'm really happy with the flash. It will help for taking indoor shots in the future with both animals, and, people. More to come on that later in the year. One of the great things about this flash is the price. Here in Canada it can be had for $89, which is excellent compared to some of the other options out there. While the Leica flashes offer TTL, I'm not sure the price is worth it there. Perhaps one day I will get my hands on a SF40, but until i do, this small flash will suffice. One thing I notice, and others have noticed with non-Leica branded flashes, is that the EVF brightens when using the flash. I'm not quite sure why it does that, but given the age of the Q, I don't think a firmware fix will be coming for that. Something to be aware of though since it will probably have a hit on the camera battery.
Comments